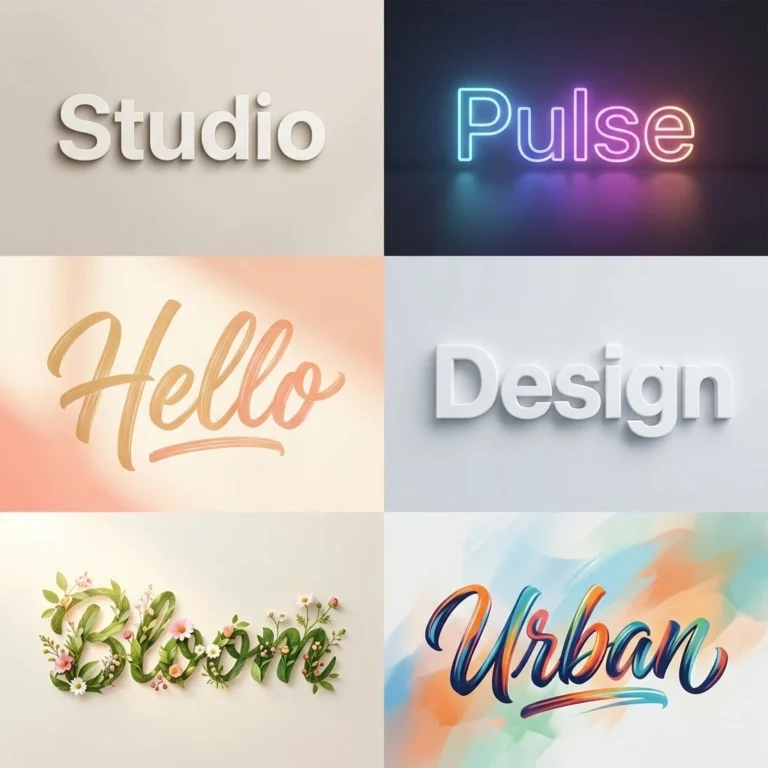
These AI prompts create texture backgrounds such as wood, marble, metal, leather and grunge. You’ll also find a fill-in template for any other material.
Why Use AI for a Texture Background?
You can describe the exact grain, colour and wear you need instead of searching stock sites.
Easy Variations
Change one word, and you get a new version in a matching style.
Quick Testing
You can test several versions in minutes. For a professional job, check the tool’s commercial terms and inspect the image at full size.
A Template for Any Texture
Fill in the brackets for the texture you need. The template works in Flux and most other image tools.
Fill-In Texture Template
Fill-In Texture Template
Replace the highlighted text with your own details before you run the prompt.
AI Prompts for Different Textures
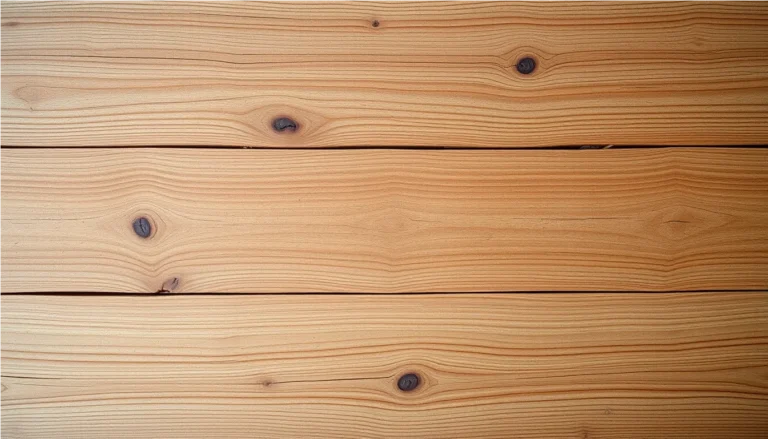
Wooden Texture Background Prompt
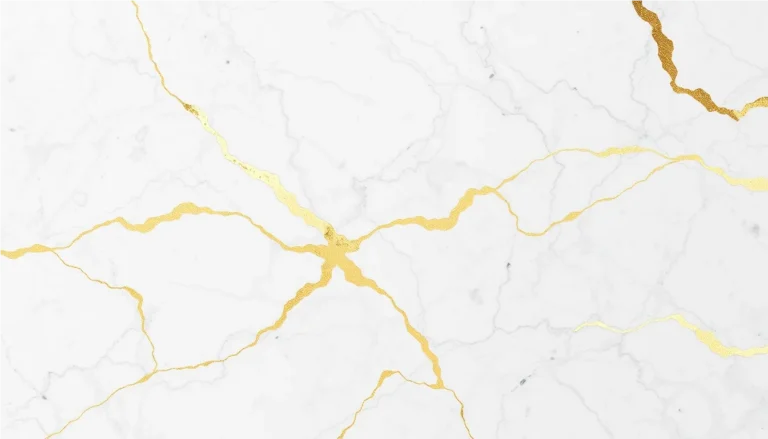
Marble Texture Background Prompt
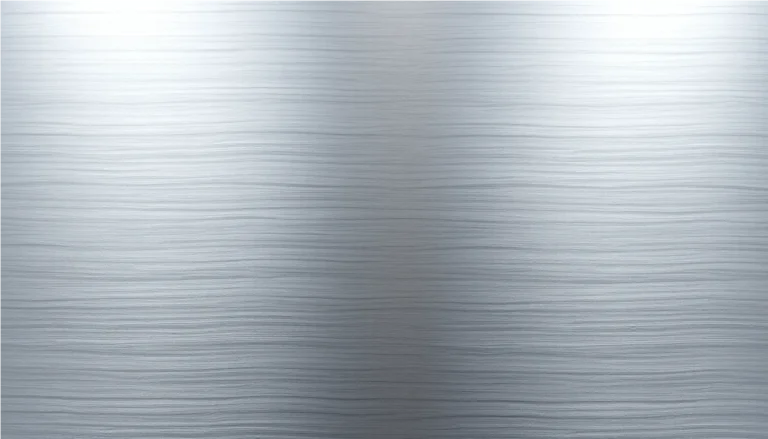
Metallic Texture Background Prompt
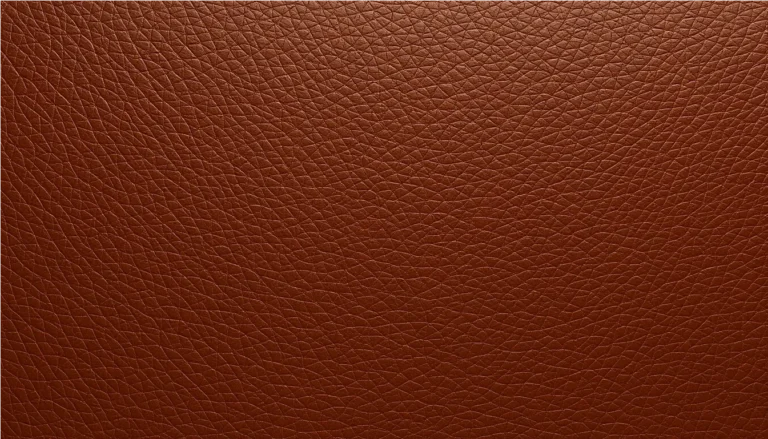
Leather Texture Background Prompt
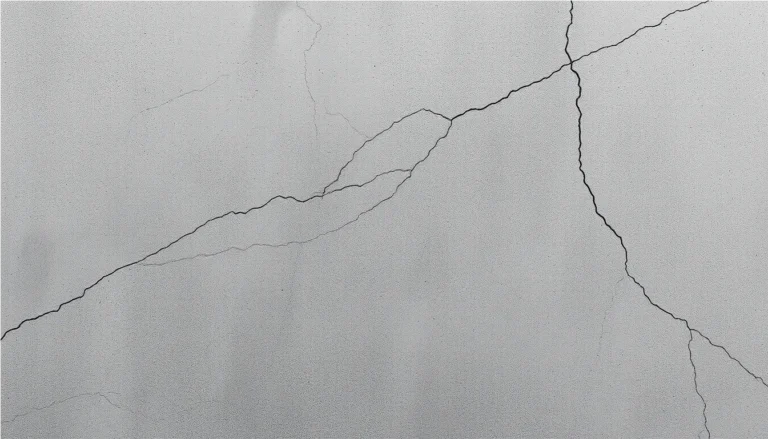
Concrete Texture Prompt
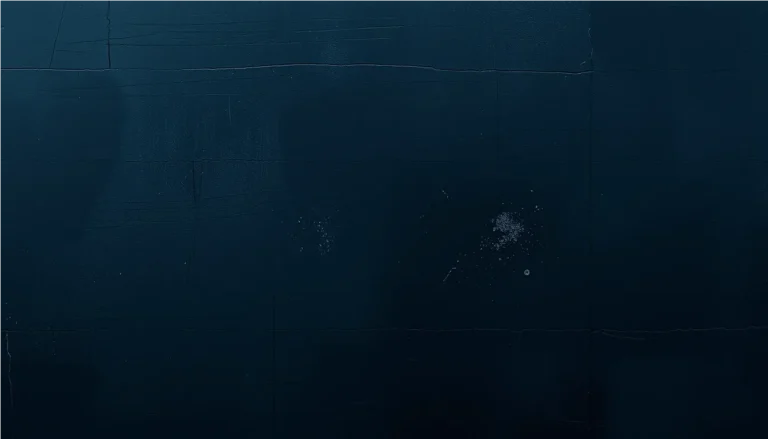
Grunge Texture Prompt
How to Customize a Texture Prompt
Change these parts of any prompt:
Change the Colour
Try “deep blue marble” or “golden-brown wood”.
Change the Surface
Try “glossy” or “matte”, and “smooth” or “rough”.
Add Realistic Detail
Add details like cracks, scratches or grain. Real surfaces are rarely perfect.
Change the Lighting
Use “soft diffused light” for a gentle background, or “high-contrast lighting” to make the surface stand out.
Reuse the Structure
Keep the same wording and change only the material to make a matching set.
Better Words for Each Material
“Wood” or “marble” alone gives you a generic result. Name a specific type and finish:
| Material | Types to name | Details to add |
|---|---|---|
| Wood | oak, walnut, reclaimed pine, charred wood | knots, straight grain, peeling paint |
| Marble | Carrara, Calacatta, Nero Marquina | fine grey veins, gold veins, honed or polished |
| Metal | brushed steel, oxidised copper, rusted iron | scratches, patina, directional reflections |
| Leather | full-grain, suede, cracked vintage | pores, creases, stitching |
| Concrete | polished, board-formed, raw cast | air holes, stains, form lines |
| Grunge | peeling paint, distressed paper, scratched film | dust, torn edges, uneven wear |
Choose by What You’re Making
| Use | What to ask for | Why |
|---|---|---|
| Website background | Low contrast, soft light, subtle detail | Text stays easy to read |
| Slides and social posts | Dark or light with clear space | Leaves room for words |
| Product mock-ups | Natural light, realistic scale | The surface should look believable under the product |
| The largest size available, then upscale | Small flaws become visible at full size | |
| Repeating patterns | Flat, even light, no vignette | Shadows at the edges make the repeat obvious |
How to Test a Seamless Texture
Many AI tools say a texture is seamless when it isn’t. You can test it in a minute:
- Open the image in an editor. Photoshop has Filter > Other > Offset, and GIMP has Layer > Transform > Offset.
- Shift the image by half its width and half its height, with wrap-around turned on.
- Look for a cross-shaped seam in the middle. Any visible line means the texture won’t repeat cleanly.
- Fix the seam with a healing or clone tool, or generate again.
- Tile the image a few times to look for obvious repeats, such as one knot appearing again and again.
Fix Common Problems
| What you see | What to try |
|---|---|
| It looks plastic or too clean | Add wear, such as scratches, dust or uneven colour, and ask for a matte finish. |
| One corner is darker | Ask for “flat, even lighting, no vignette”. |
| The view is tilted | Add “top-down view, straight on, no perspective”. |
| Objects or text appear | Add “texture only, no objects, no text”. |
| Detail is too large or too small | Name a scale, such as “close-up of the grain” or “wide wall section”. |
Before You Use It Commercially
Check your image tool’s terms, and inspect the texture at full size. Avoid copying a named company’s surface or pattern. For 3D work, remember that a flat image only gives you colour. Realistic materials also need separate maps, such as roughness and normal maps.
Next Step
Start with the prompt closest to your material. Change the colour first, then the surface. For a repeating pattern, add “seamless tile” and test it, because many generators leave visible edges.
More in AI Graphic Design Prompts
This guide is part of our AI Graphic Design Prompts hub, where you’ll find every related guide, along with tips and common questions.