A realistic AI face swap takes three steps: upload the target image, upload the face you want to use, then generate. This guide explains how it works, which tools to try and how to make the result look natural.
Only swap faces with the permission of the people involved, and never use a swap to impersonate or embarrass someone.
You’ll also find a step-by-step Remaker guide and a guide to age progression further down. Always get permission from anyone whose face you use.
What’s on This Page
| Section | Best for |
|---|---|
| Face swap tools and steps | Understanding the process |
| How to Use Remaker AI | Single and group photo swaps |
| How to Use Age Progression AI | Seeing how a face might age |
How Does an AI Face Swap Work?
Face swap tools generally work in three stages:
- Reading the target image: The AI maps the position of the face, the tilt of the head and the direction of the light.
- Reading the source face: It extracts the features of the face you want to use.
- Blending: It fits that face to the target and matches colour, skin tone and shadows.
That last stage is why good swaps look like one photo. Results slip when the head angle or the light differs too much between the two pictures.

3 AI Face Swap Tools to Try
- Remaker AI (remaker.ai): Suited to several faces in one photo and to batch work.
- Magic Hour (magichour.ai): Worth trying for video swaps.
- Live3D (live3d.io): A simple option for quick photo swaps.
Free limits and sign-up rules change often, so check each site before you start.
How to Do an AI Face Swap
Button names vary between tools, but the steps are almost always the same.
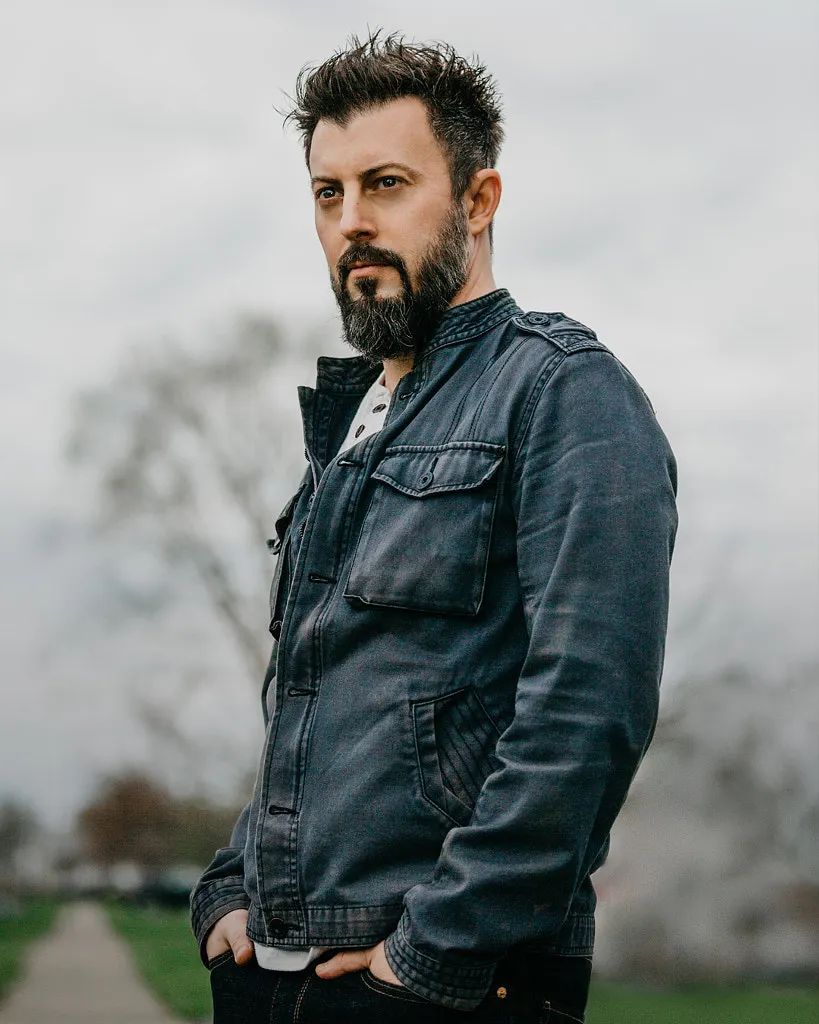
Step 1: Upload the Target Image (The Scene)
Find the Target or Video Upload button and add the picture, GIF or clip you want to change. This image sets the scene, pose and lighting.
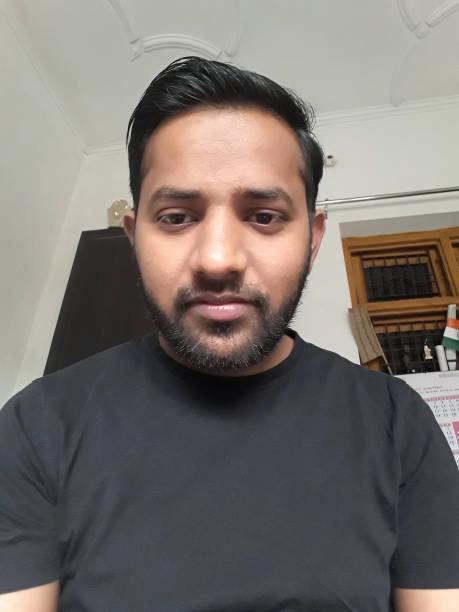
Step 2: Upload the Source Face (Your Face)
Upload a sharp photo of the face you want to use.
Tip: Match the expression and lighting. If the target is smiling, use a smiling source photo.
Step 3: Hit Generate and Grab the Result
Click the button to swap or generate, then check the result. Look closely at the hairline, jaw and teeth, where errors are easiest to spot. If it looks right, download it.

How to Pick Two Photos That Match
Most bad swaps start with mismatched photos. The closer they are, the less the AI has to invent.
| Check | Good match | Likely problem |
|---|---|---|
| Head angle | Both face the same way | The face looks flat or stretched |
| Lighting | Light comes from the same side | Shadows don’t match the scene |
| Expression | Both smiling or both neutral | Teeth and cheeks look odd |
| Sharpness | Similar quality | The face is sharper than the body |
| Obstructions | Clear view of the face | Glasses, hair or hands get blended in |
Fix Common Problems
| What you see | What to try |
|---|---|
| A visible edge around the face | Use a target photo with softer light, or a source photo closer in skin tone. |
| The skin tone doesn’t match | Use photos taken in similar light, then adjust colour in an editor. |
| The teeth or eyes look wrong | Use a source photo with a closed-mouth expression and clear eyes. |
| Glasses or hair get merged | Choose a source photo without glasses, and a target with hair away from the face. |
| The wrong face changes in a group photo | Use a tool with multi-face selection, such as Remaker. |
| The swap flickers in video | Use a short clip with a steady face, good light and little head movement. |
Photo Swaps vs Video Swaps
| Photo | Video | |
|---|---|---|
| Difficulty | Easier | Harder, as every frame must match |
| Best source | One sharp, front-facing photo | A clear face, and a clip with little head turning |
| Where it fails | Hairline, jaw and teeth | Fast movement, hands crossing the face, and side views |
| Cost | Often uses few credits | Usually costs much more |
Consent, Law and Honest Use
Face swaps can harm real people, so treat these as firm rules:
- Get clear permission from everyone whose face you use.
- Don’t create sexual, humiliating or deceptive images. Non-consensual intimate deepfakes are illegal in many places, including under the US TAKE IT DOWN Act.
- Don’t impersonate anyone or use a swap for fraud, identity checks or fake endorsements.
- Don’t use a real person’s face in advertising without their written permission.
- Label the image as AI-generated if people could mistake it for a real photo.
- Read the tool’s privacy policy, because you’re uploading biometric-style data about a real person.
Laws vary by country and change quickly, and this isn’t legal advice.
Common Questions
Is there a free AI face swap?
Several tools have free tiers or free credits, but limits change often and video usually costs more. Check each tool’s current page.
Why does my face swap look fake?
The usual causes are different head angles, different lighting or a blurry source photo. Try better-matched photos before you switch tools.
Can people tell that an image is a face swap?
Often, yes. Hairlines, jawlines, teeth and mismatched lighting can give it away, and some platforms and detection tools look for AI edits.
For step-by-step help with one tool, see how to use Remaker AI.
How to Use Remaker AI
Remaker AI is an online tool for swapping faces in photos. This guide covers its single and multiple face swap tools. Only use faces with permission from the people involved.
Getting Started With Remaker AI
Sign in to get started. New users have received free credits, but check the current offer on the site. The tools share one simple process: upload, assign and generate. Remaker also has a batch tool for larger sets of images.
Single Face Swap
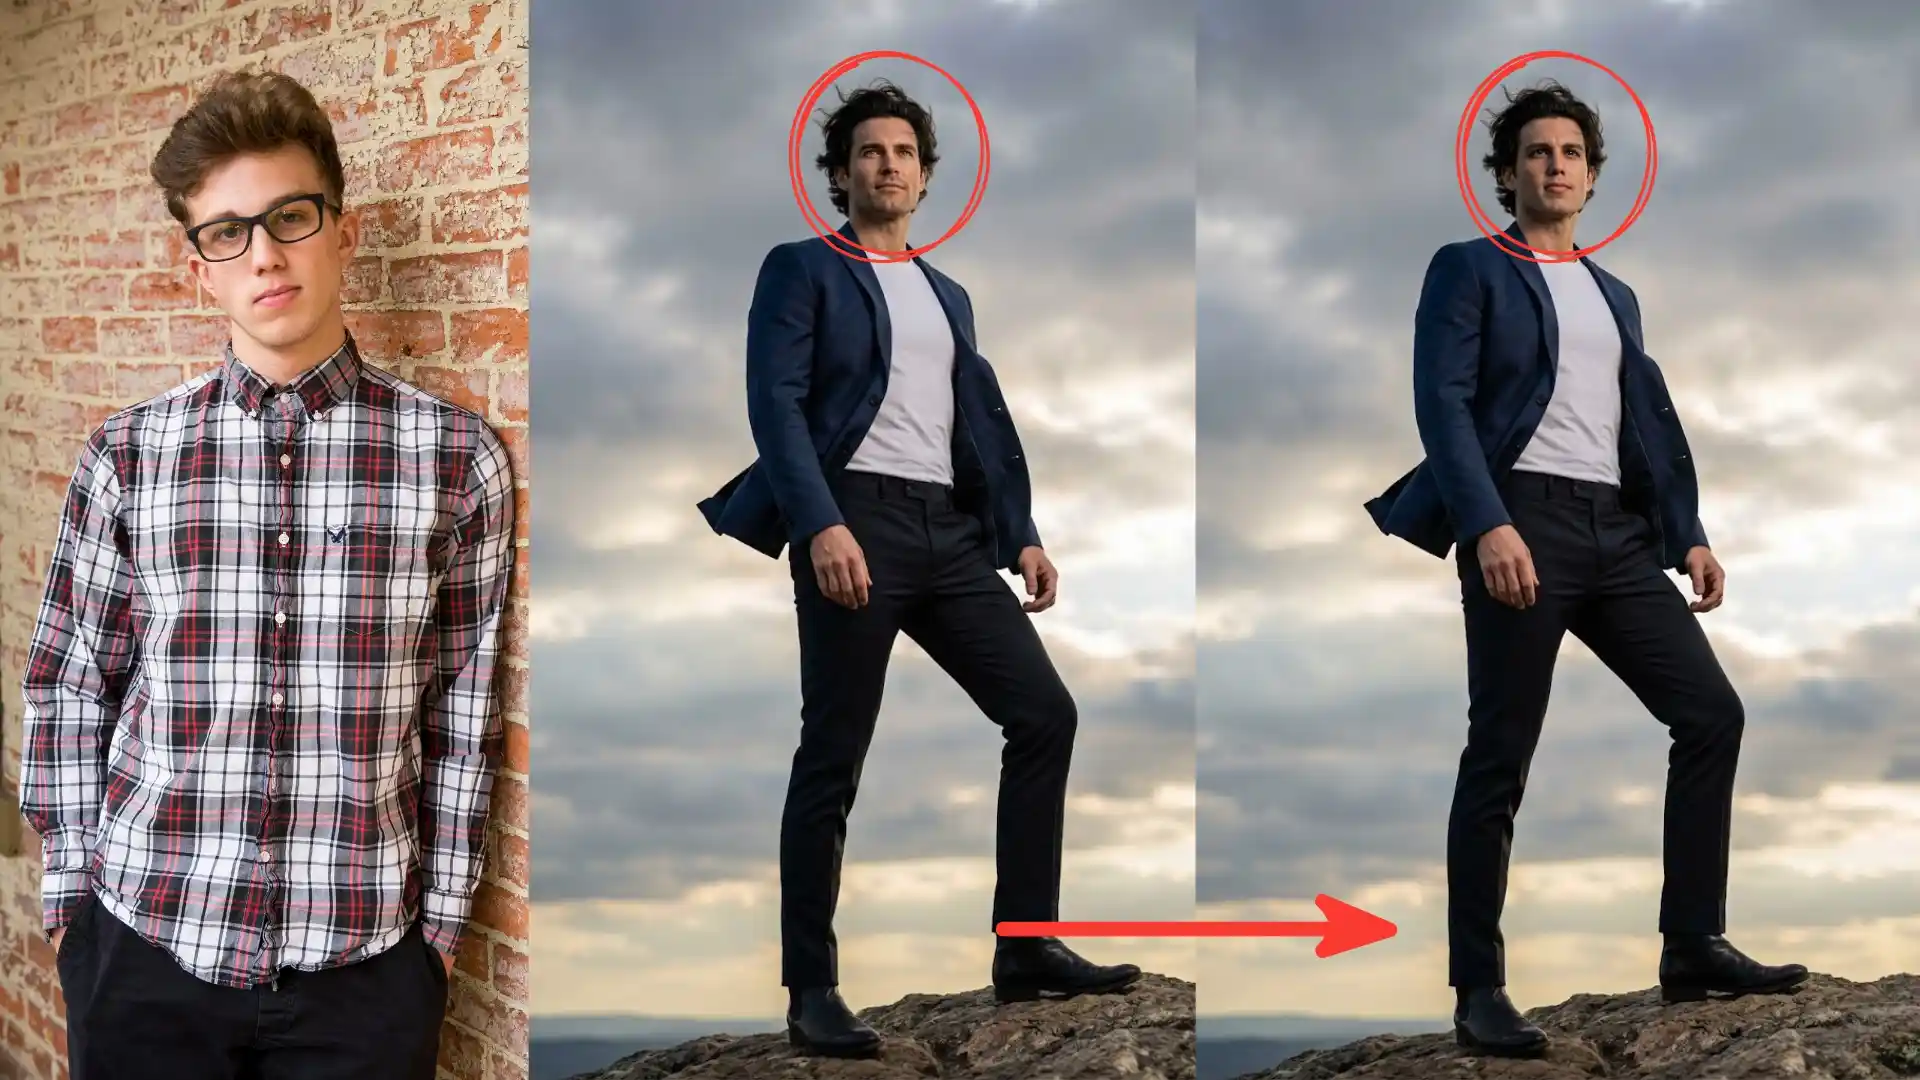
Use this tool to replace one face in a photo. It works best when the two photos have similar lighting, expressions and head angles.
How to Use It
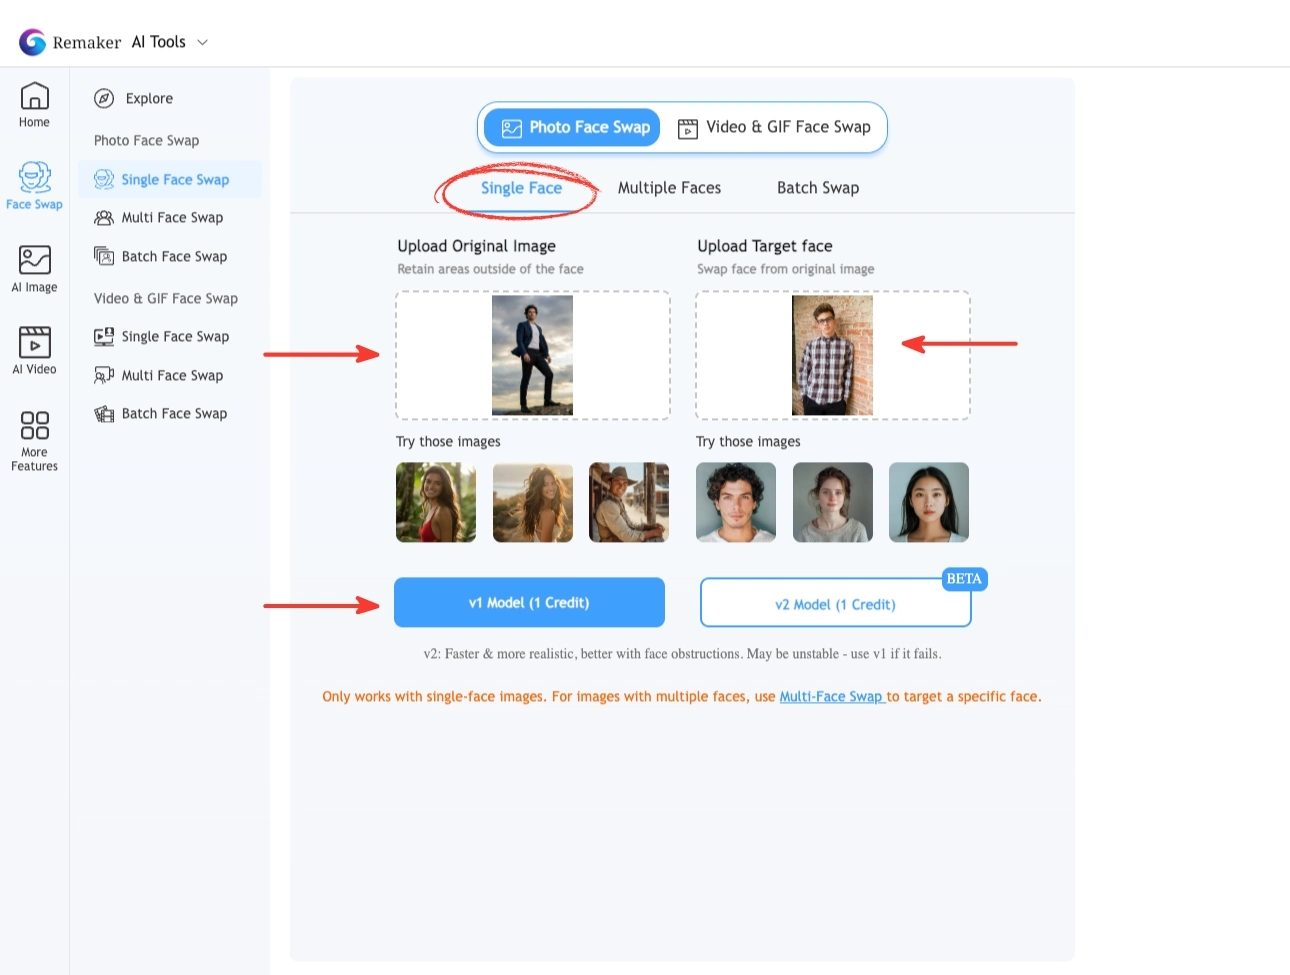
- Upload your original image.
- Upload the face you want to swap in.
- Choose a model if options are shown. In our guide’s version, V1 is faster and V2 is slower with better blending.
- Click Generate.
- Download or upscale the result.
Multiple Face Swap for Group Photos
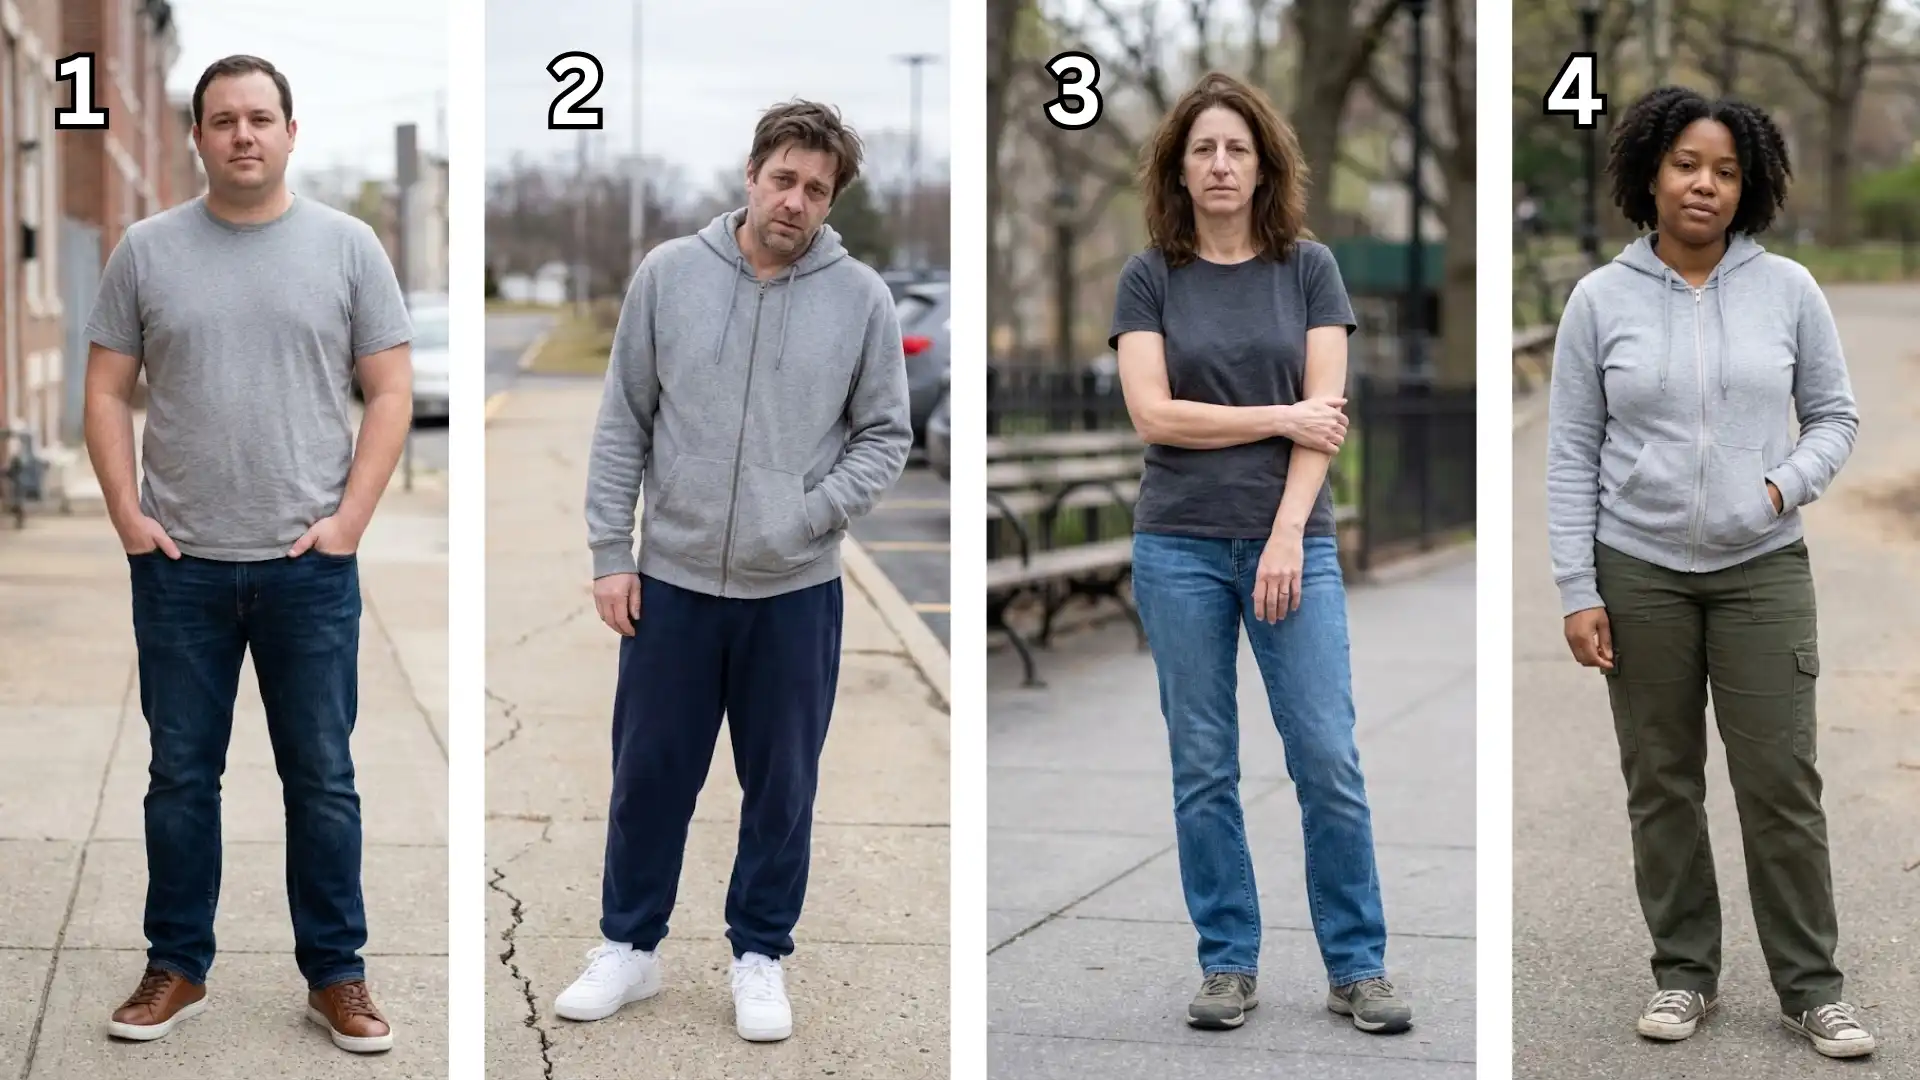
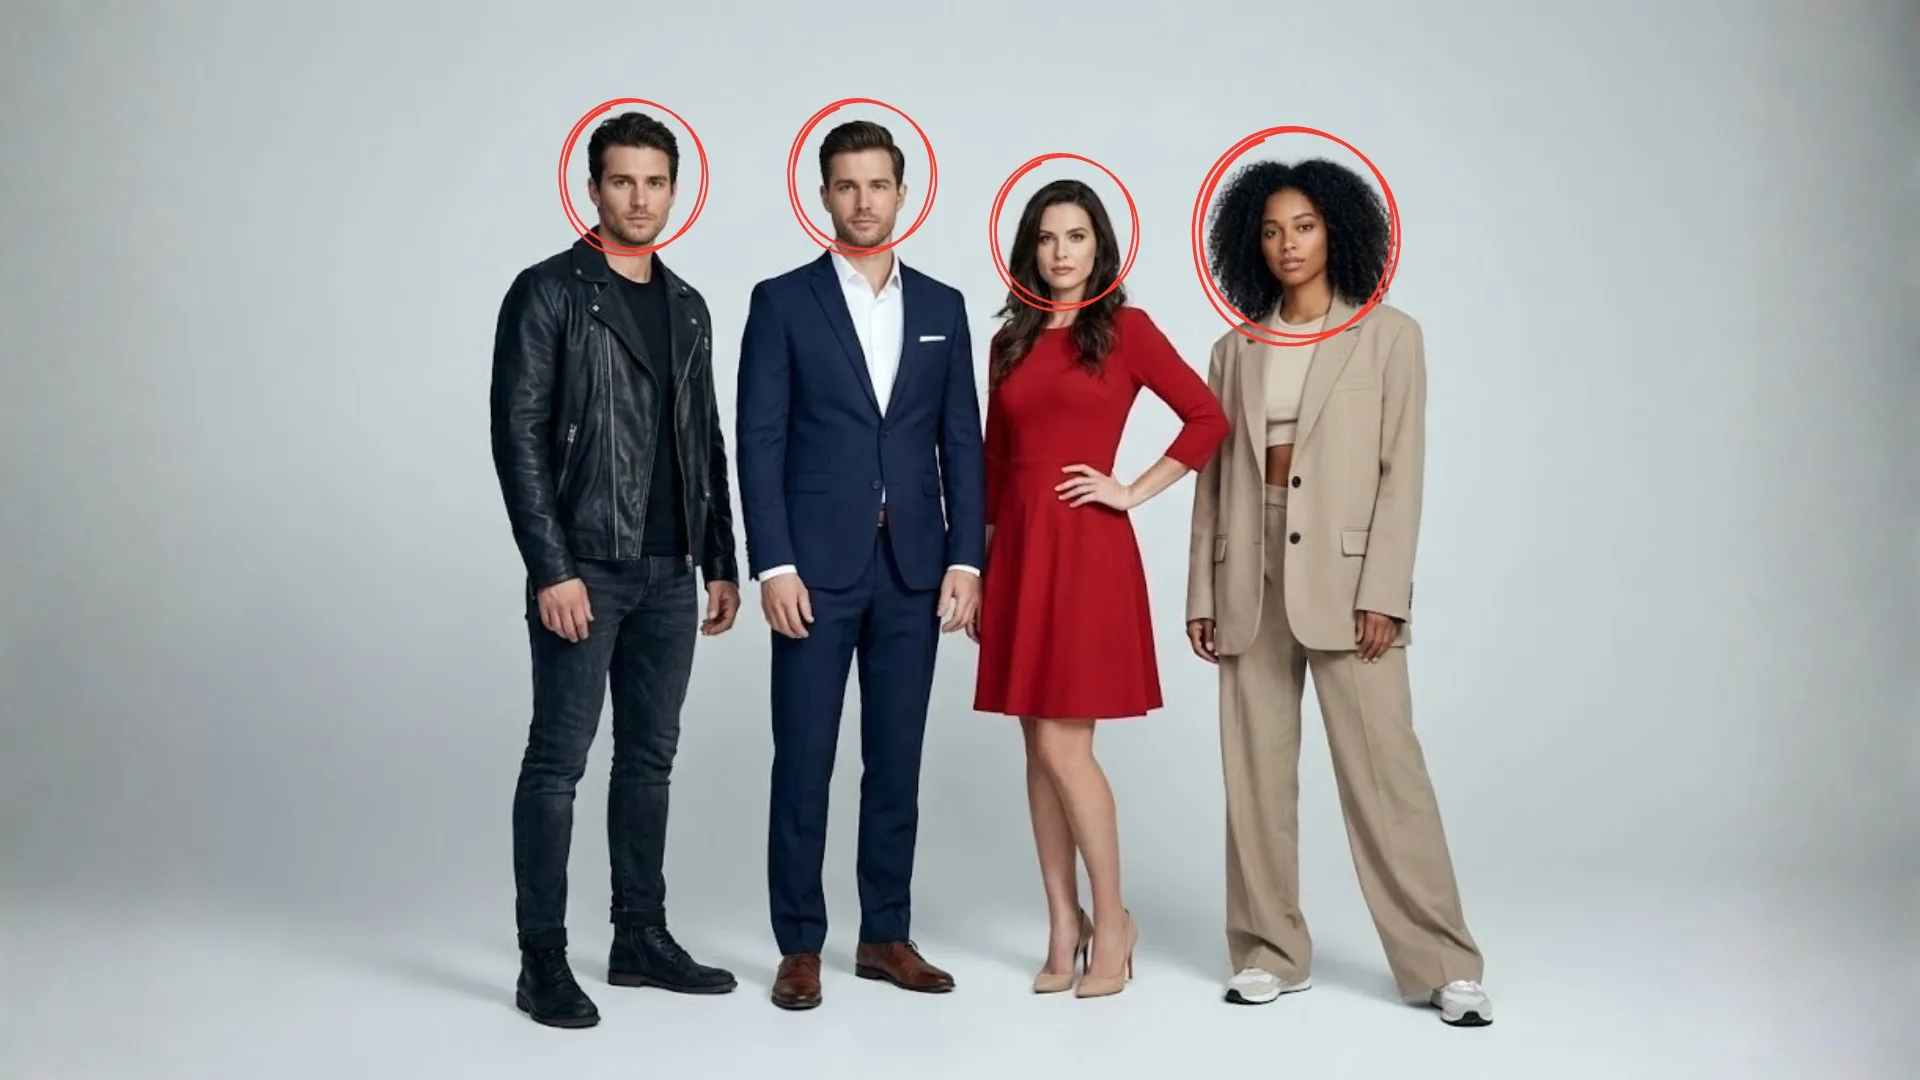
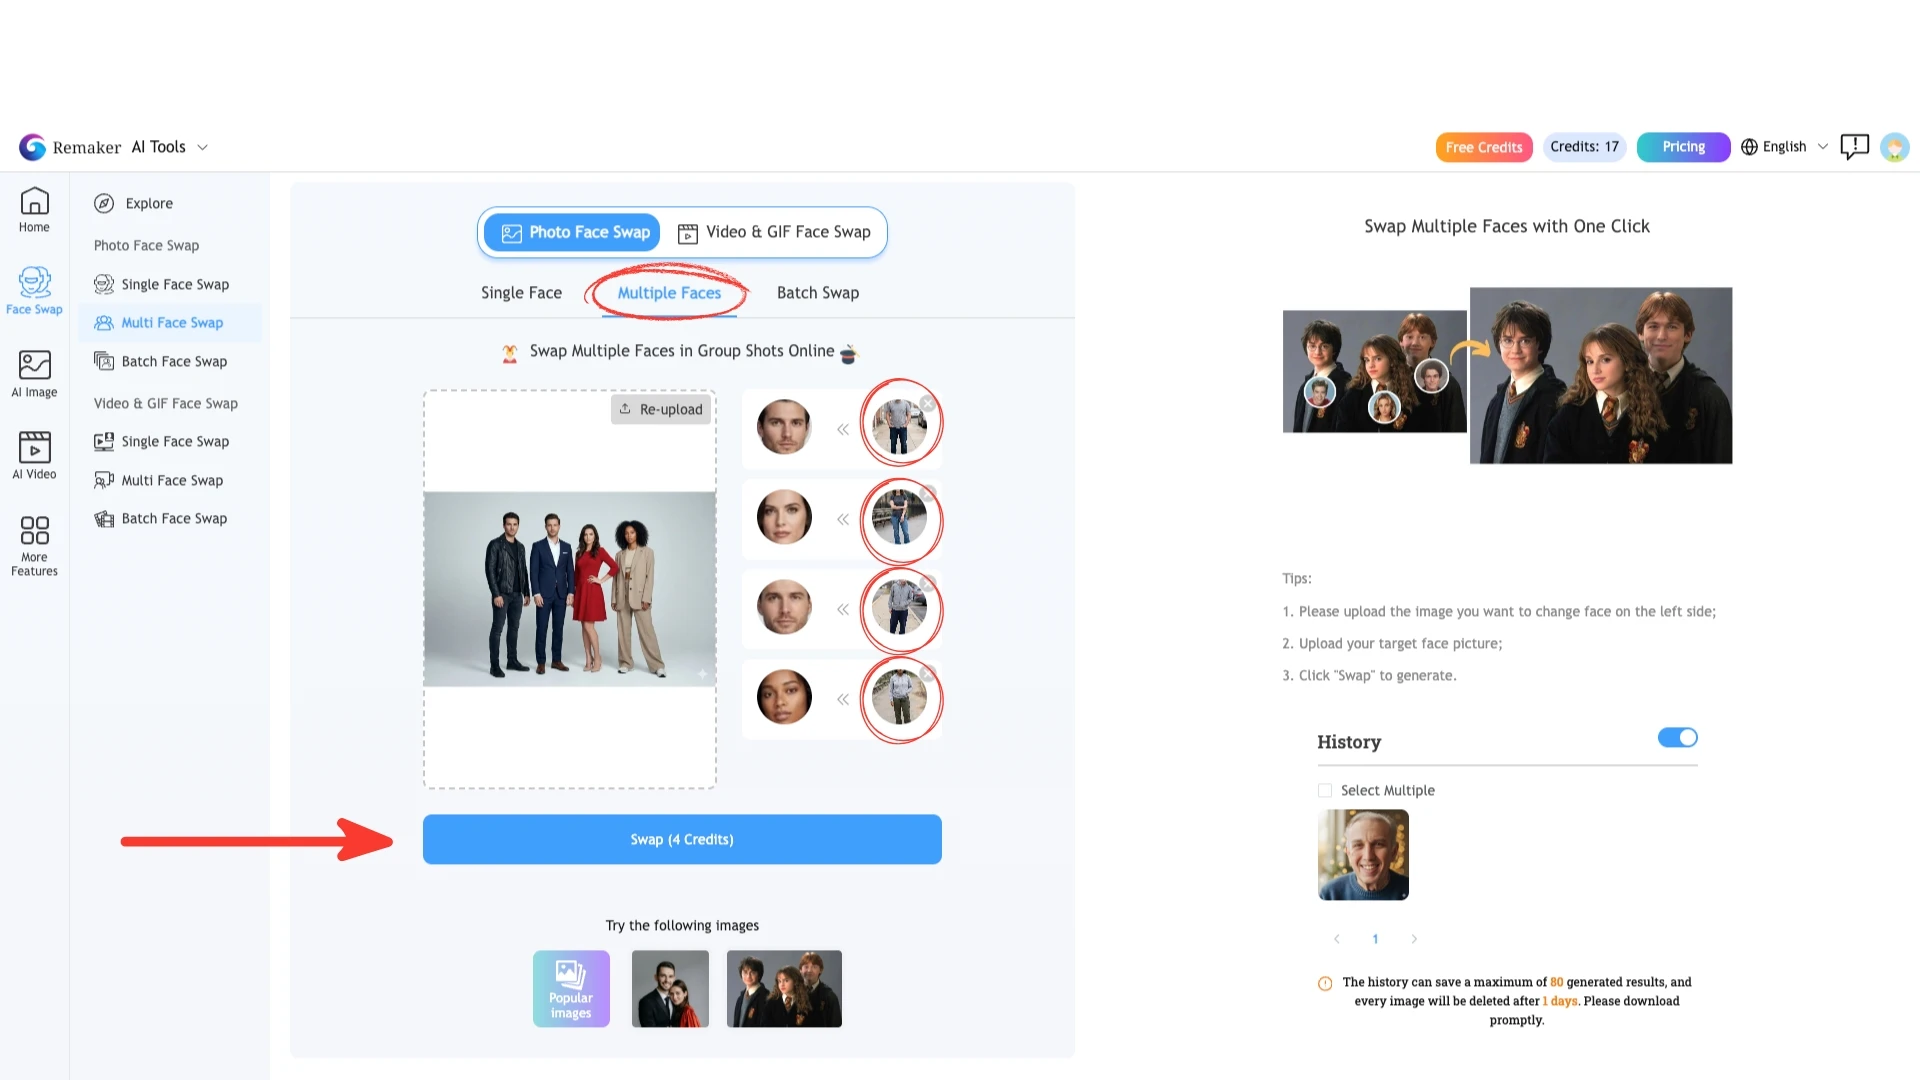
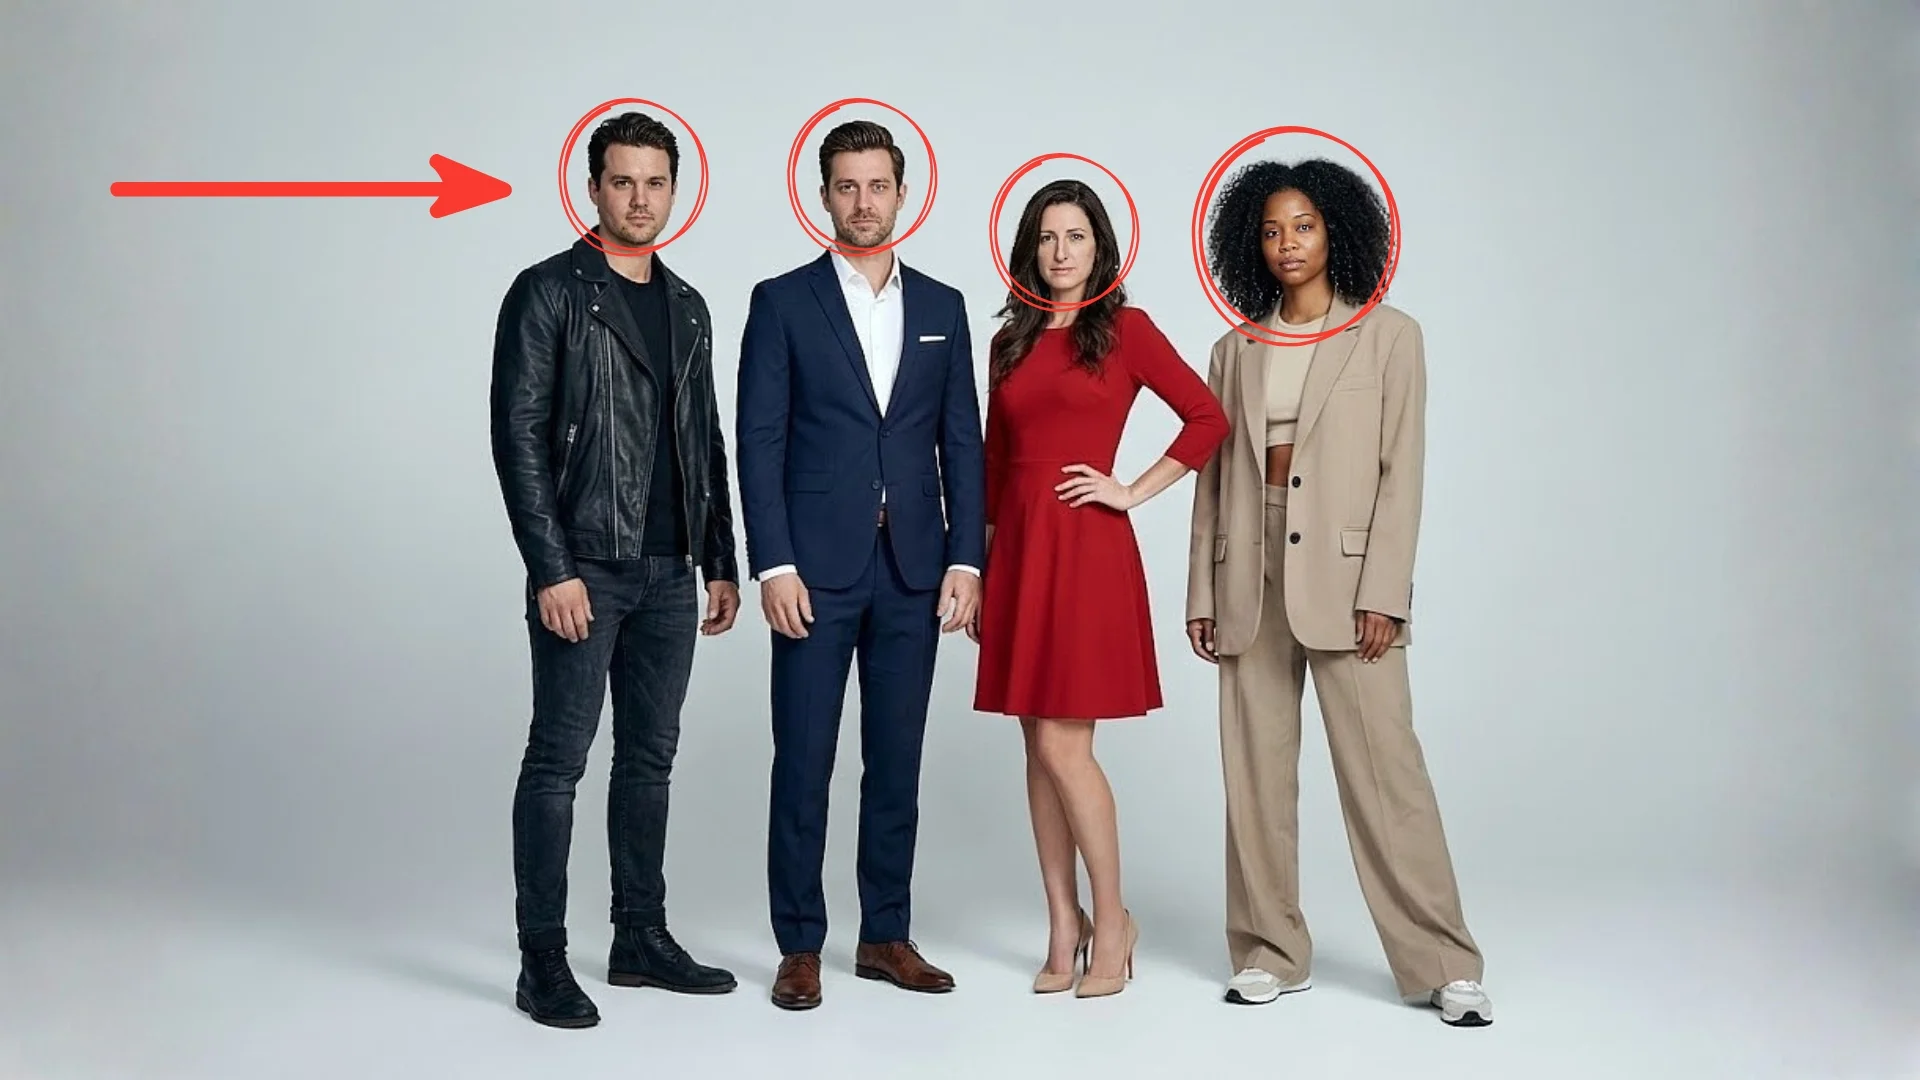
Use this tool for photos of friends, family or a team. It detects each face in the picture automatically.
How to Use It
- Upload the group photo.
- Wait for the faces to be detected.
- Assign a new face to each person you want to change.
- Generate the image and check each face.
Which Tool to Start With
Start with a single swap to learn the process. For group photos, change one or two faces first, since matching light and angle gets harder with every extra face.
How to Use Age Progression AI
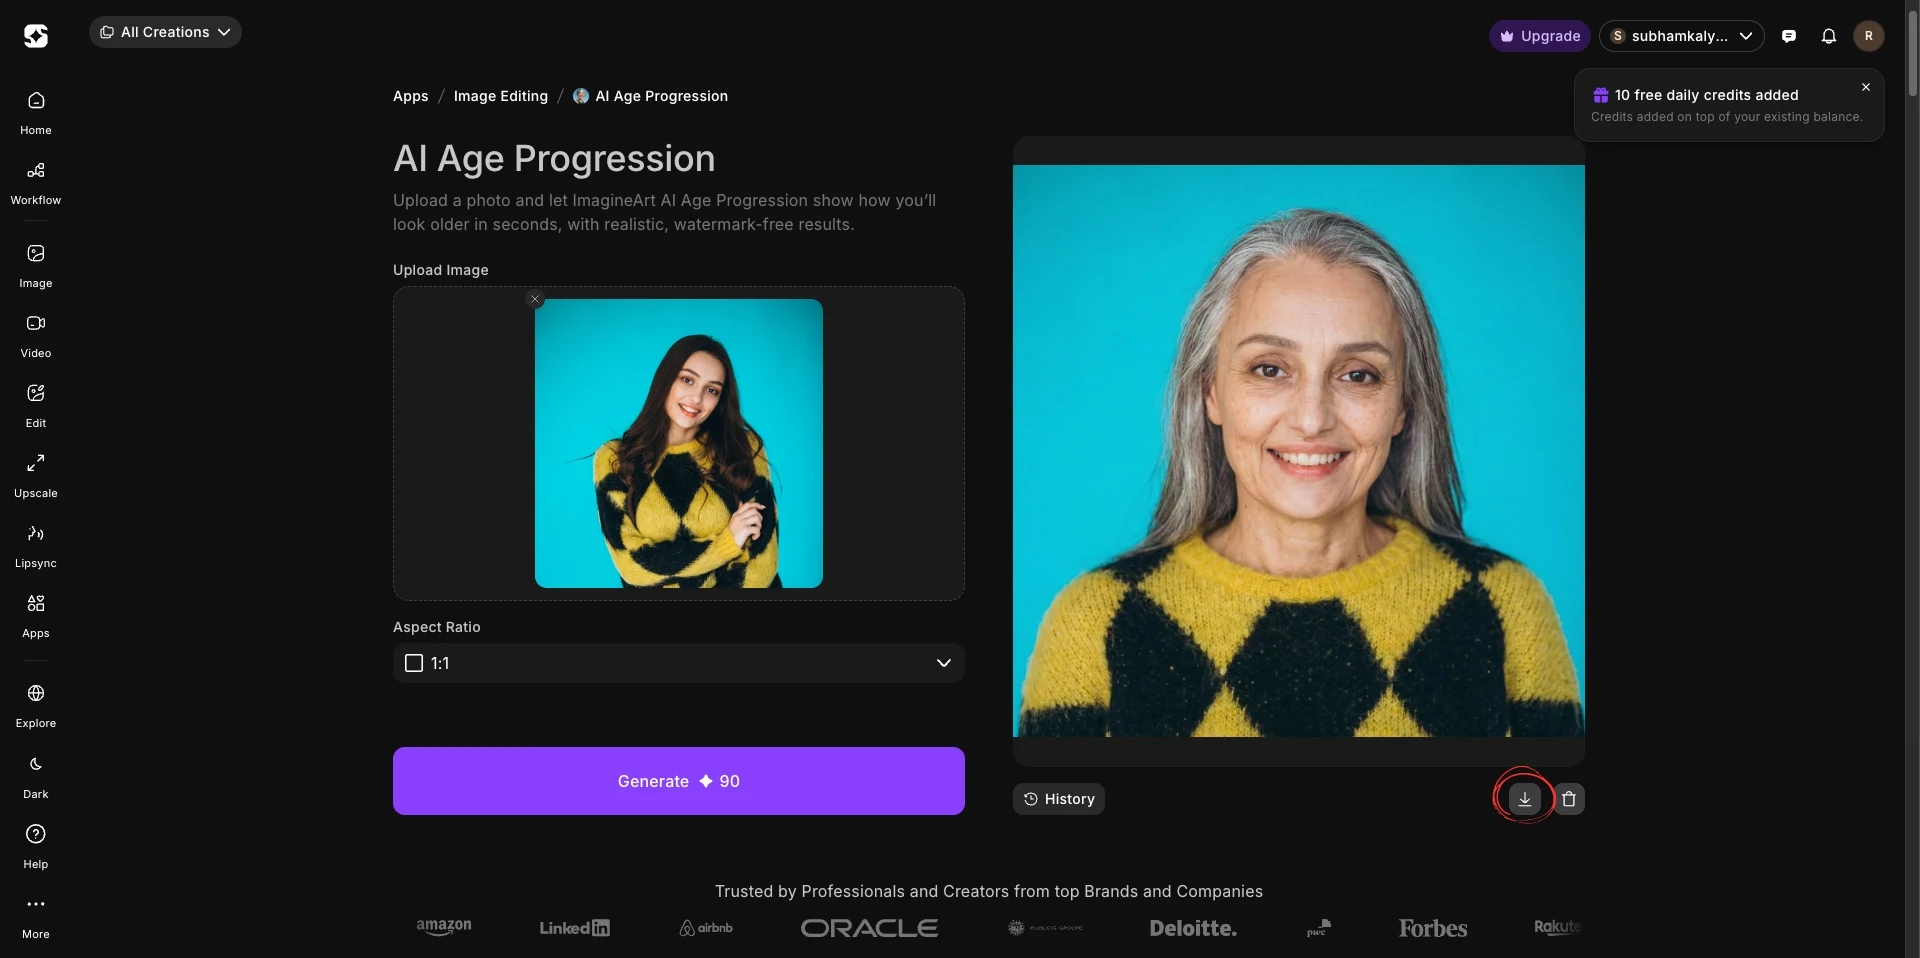
Age progression AI edits a photo to show how a person might look when older. This guide uses ImagineArt, and you can follow the same steps in most similar tools.
Treat the result as a fun illustration, not a prediction. The AI applies common signs of ageing, and it can’t know how your health or lifestyle will change your face.
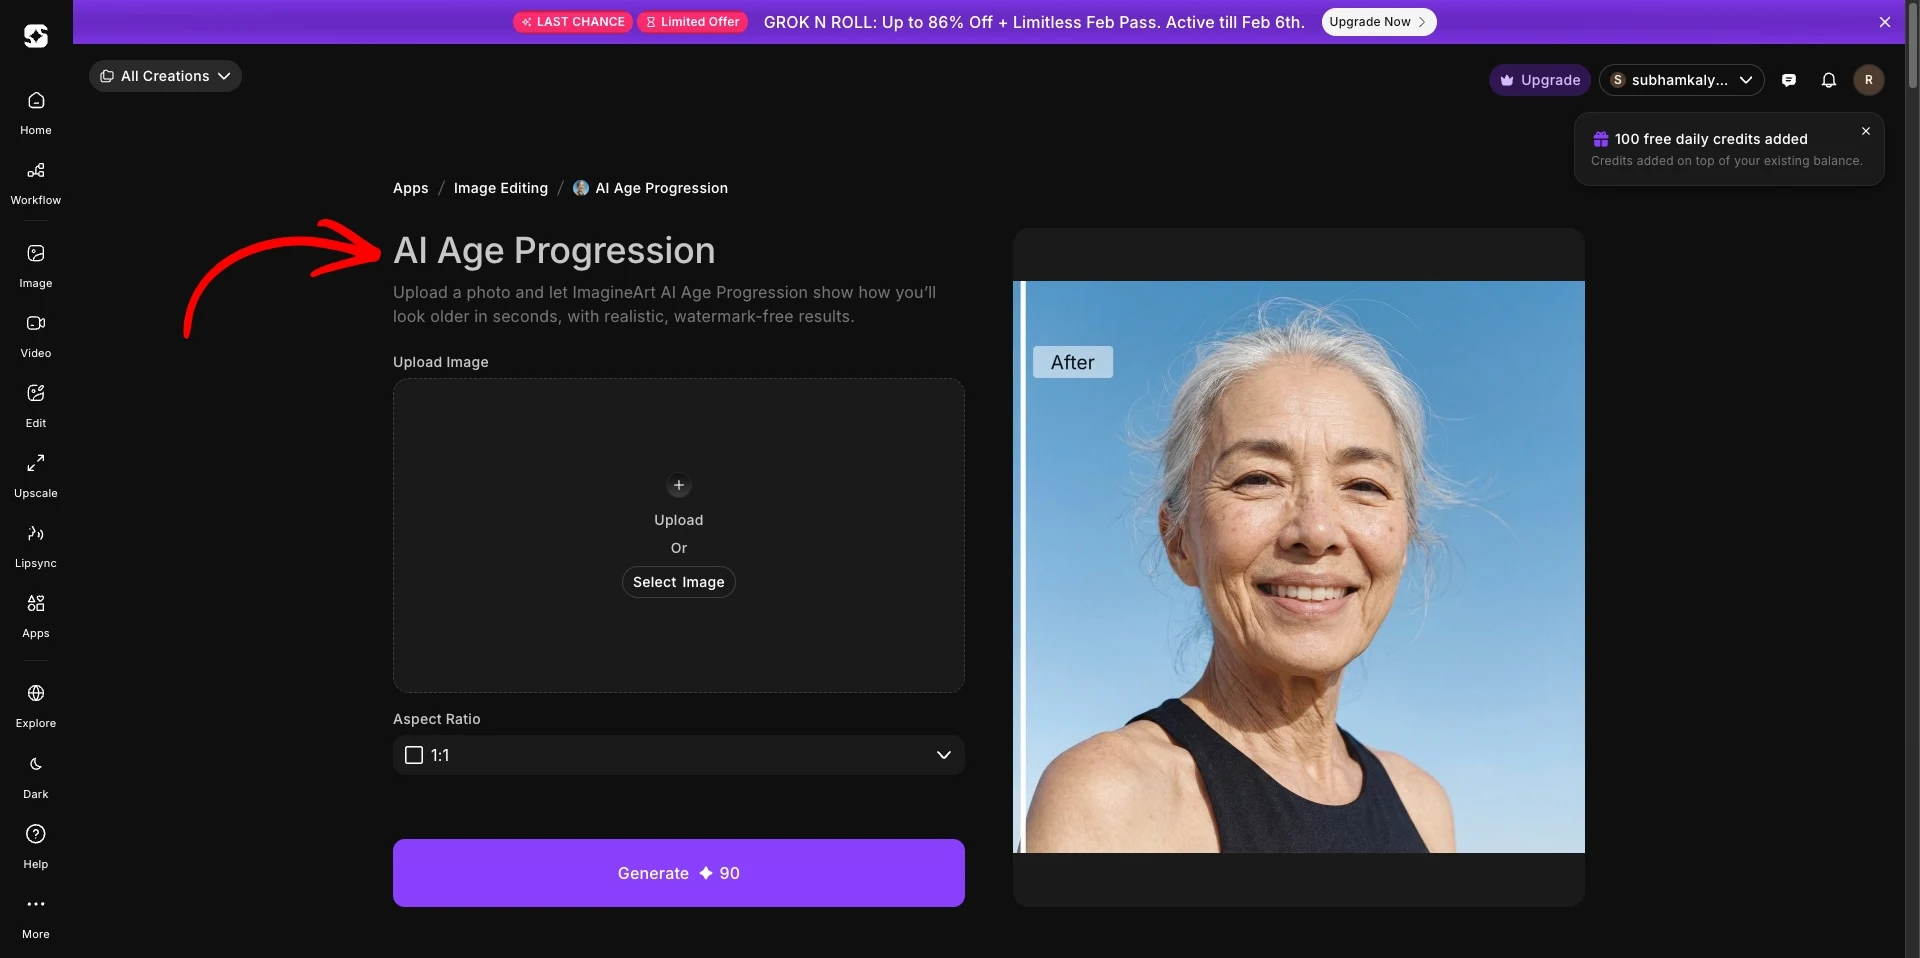
Step 1: Open the AI Age Progression Tool Online from ImagineArt
Go to the ImagineArt website and open its AI age progression tool.
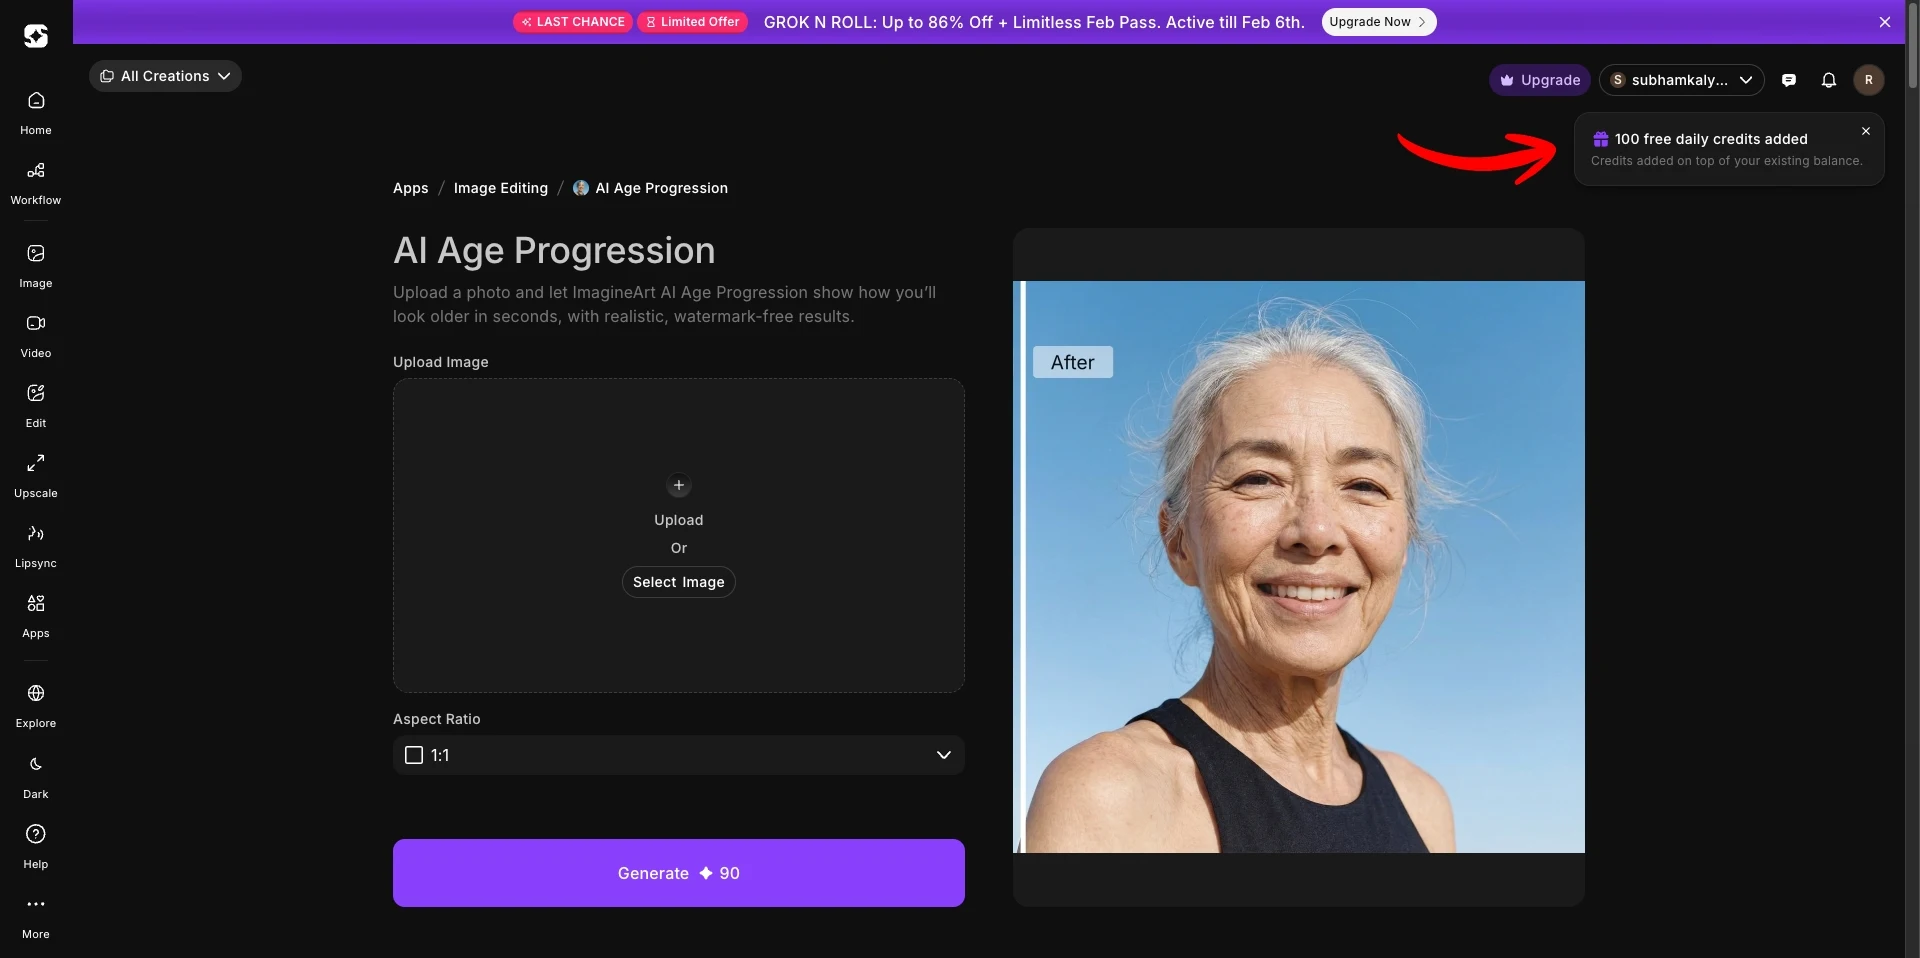
Step 2: Create an Account
Sign up for a free account. ImagineArt has offered free daily credits, but check the current allowance on the site.
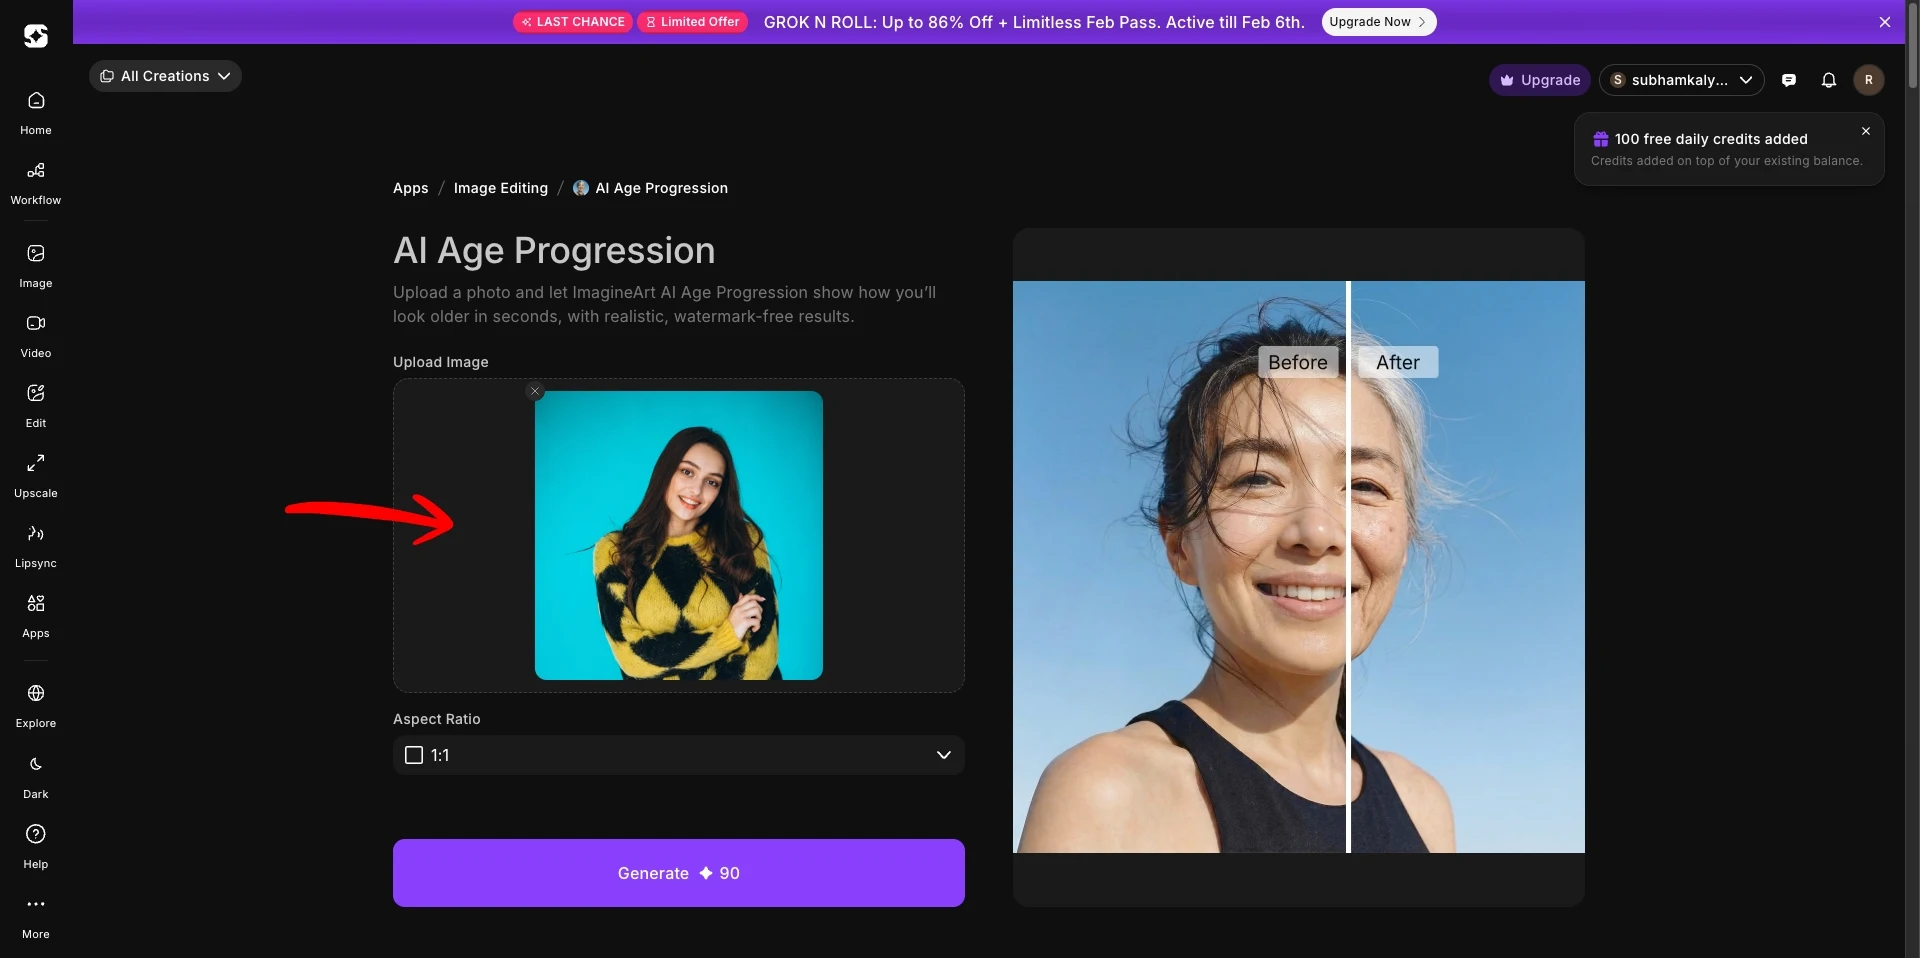
Step 3: Upload Your Photo
Upload a clear photo where:
- Your face is fully visible
- The lighting is natural and even
- No heavy filters are applied
Front-facing photos usually work best. Use your own photo, or one you have permission to use.
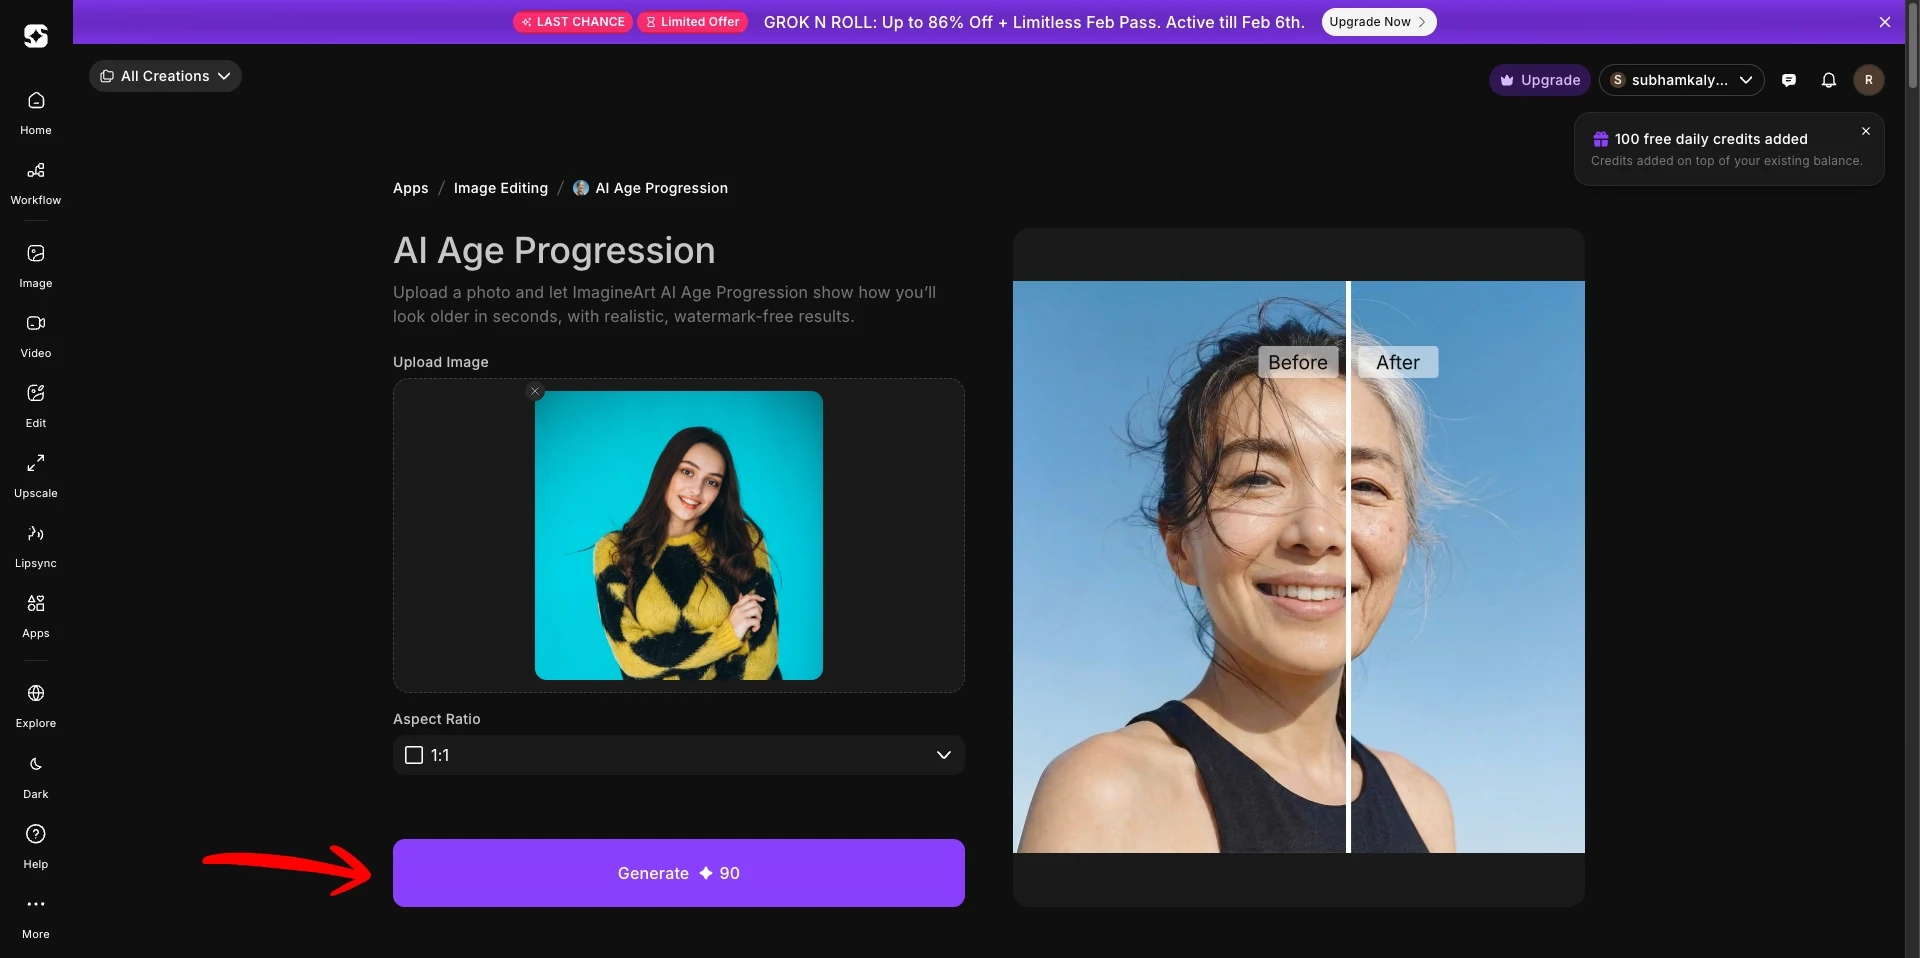
Step 4: Generate the Image
Click Generate. The tool applies the ageing details within seconds.
Step 5: Download or Save
Download the image or save it for later.
Tips for Better Results
- Use a high-resolution photo.
- Avoid strong shadows.
- Keep your face centered.
- Use a neutral expression.
Is Age Progression AI Free?
Many tools have a free option, usually with limited daily credits, and you’ll often need an account. Limits change, so check before you start.
Next Step
If the first result looks wrong, try another photo before changing tools. Even, front-facing light usually makes the biggest difference.
More in AI Photo Editing Prompts and Guides
This guide is part of our AI Photo Editing Prompts and Guides hub, where you’ll find every related guide, along with tips and common questions.