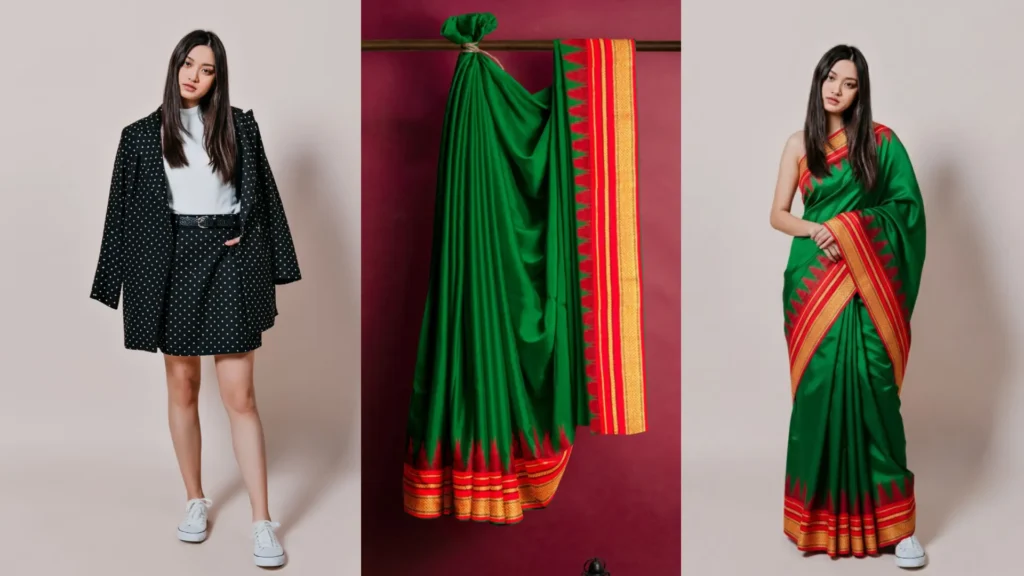
An AI clothes changer puts a different outfit on the person in a photo. You upload a clear picture, then choose a preset, add a garment image or describe the look in words. The tool generates a new version of the photo.
This guide shows the steps in NoteGPT, AirBrush and Gemini, and what each tool is suited to.
Only upload photos of yourself or of people who have agreed to it.
On this page
- Which AI Clothes Changer Should You Use?
- The Tools Side by Side
- How to Use the AirBrush AI Clothes Changer
- How to Use the NoteGPT Clothes Changer
- How to Change Clothes in a Photo With Gemini
- What These Tools Can and Can’t Do
- How to Choose a Photo That Works
- Fix Common Problems
- Privacy and Consent
- AI Outfit Generator Prompts
- Asian Art T-Shirt Design Prompts
- Which One to Start With
- Common Questions
Which AI Clothes Changer Should You Use?
The right tool depends on how much control you want.
FitRoom
A dedicated virtual try-on tool. Start here if you only want to see how a piece of clothing might look on you.AirBrush AI Clothes Changer
Pick a preset outfit, or highlight the area to change and type a style idea. You can change only the top or replace the full outfit.NoteGPT AI Clothes Changer
Upload one person photo, then add garment images or describe the clothes in text. NoteGPT listed 2 free images a day, then credits per image, when we checked in October 2026.Gemini (Nano Banana)
A general image model rather than a dedicated clothes tool. It takes more prompting, but you can combine a photo of yourself and a photo of an outfit and direct the result in your own words.
Free limits and features change often, so check each tool’s page before you start.
The Tools Side by Side
| Tool | You add | Best for | Main limit |
|---|---|---|---|
| AirBrush | A photo, then a preset or a typed style for a highlighted area | Quick ideas and changing only one part of an outfit | Less control over one specific garment |
| NoteGPT | One person photo, plus a text description, garment images or both | Trying a specific piece of clothing | NoteGPT listed 2 free images a day when we checked in October 2026 |
| Gemini | Photos and your own written instructions | The most control over the final image | Takes more prompting, and it may change the face |
| FitRoom | A photo and a garment | Quick virtual try-ons | Built for try-ons, not creative edits |
How to Use the AirBrush AI Clothes Changer
- Open the tool: Go to the AirBrush AI Clothes Changer page.
- Upload your photo: Click Upload and add a clear, well-lit photo.
- Choose an outfit: Pick a preset, such as a dress, suit or jacket.
- Or describe your own: Highlight the area you want to change and type the clothing you want. Example: “The woman in a white, off-the-shoulder, textured midi dress with short puff sleeves made of subtly shimmering knit fabric.”
- Generate: Click Generate and check the edges, hands and neckline, where errors are easiest to spot.
- Download: Save the image to your device.
How to Use the NoteGPT Clothes Changer
- Open the tool: Go to the NoteGPT AI Clothes Changer page.
- Upload your photo: Add one clear person photo. PNG, JPG, JPEG and WebP files up to 20MB are accepted.
- Add the clothes: Upload garment images, or describe the outfit. Example: “silky emerald green high-neck blouse with ivory wide-leg trousers.”
- Generate: Click Generate for ready-made outfits, or use your own prompt to customize the result.
- Download: Click Download to save the image.
How to Change Clothes in a Photo With Gemini
Gemini needs clearer instructions than a dedicated clothes tool, but it gives you more freedom.
- Start with a good photo: Upload a clear shot of yourself.
- Create the outfit: Upload a photo of it, or describe it. Example: “A floor-length white satin gown with gold embroidery.” Save the image.
- Give a clear command: Upload the outfit with your photo and use a command like: “Put this outfit on my avatar, keep the pose.”
- Refine it: Ask for changes to shadows, lighting or colour until the outfit matches the photo.
- Download: Save the final image.
- Use the right models: Start with photos of your store models, with their permission, or with AI-generated models.
- Add your products: Upload flat product shots on a white background.
- Be specific: Name the product, the fabric and what must stay the same.
- Check every image: Compare each result with the real product. Colour, shape and fabric should match what the customer will receive.
Keep-It-Realistic Outfit Prompt
Swap In a Garment From a Photo
Describe an Outfit in Words
Replace the highlighted text with your own details before you run the prompt.
Try One Outfit in Other Colours
Replace the highlighted text with your own details before you run the prompt.
What These Tools Can and Can’t Do
These tools are useful for trying out colours and styles, planning a look, or making quick mock-ups for content.
They can’t tell you whether something will fit. The image shows how the AI imagines the clothes on you, not how a real size will sit on your body, so check the size chart before you buy.
How to Choose a Photo That Works
Your source photo affects the result more than the tool does. Use this checklist before you upload:
- Show the area you’re changing. For a full outfit, use a full-body photo. For a top, a waist-up shot is enough.
- Face the camera. A simple, front-facing pose gives the AI the clearest view of your body shape.
- Keep arms and hands clear. Crossed arms, bags and pockets are where most mistakes appear.
- Wear fitted clothes. A big coat hides your shape, so the AI has to guess it.
- Use even light. Strong shadows can end up printed on the new outfit.
- Use a sharp, plain garment photo. A flat lay or a single product on a white background is easiest for the AI to read.
Fix Common Problems
| What you see | What to try |
|---|---|
| The face has changed | Ask it to keep the face unchanged and to edit only the clothing. If that fails, use a tool with a highlight or mask option. |
| The clothes look pasted on | Ask for natural folds and shadows that follow the body, and for lighting that matches the original photo. |
| The colour or pattern is wrong | Use a clearer garment photo, and name the colour and pattern in the prompt. |
| Hands or arms look strange | Choose a photo where the arms are visible and away from the body. |
| Extra clothing appears | Name what to remove, such as “no jacket, no scarf”, or start again with a simpler photo. |
| The neckline or hem looks odd | Zoom in, then ask for a change to that one area. |
Privacy and Consent
You’re uploading a photo of a real person, so read the tool’s privacy policy first. NoteGPT’s FAQ said uploads are deleted after processing when we checked in October 2026, but we can’t confirm this independently, and other tools have their own rules.
Only use photos of yourself or of people who have agreed. Never use these tools to create revealing or sexual images of someone, or to make a fake photo look real.
AI Outfit Generator Prompts
You can use any AI image tool to visualize clothing. These prompts cover complete outfits, from casual streetwear to winter layers, and hoodie mockups for print-on-demand stores. Generated clothing is only a preview, so check real fit and fabric before you buy or sell.
Replace <AR> with your image shape. 4:5 or 9:16 suit full-length outfits.
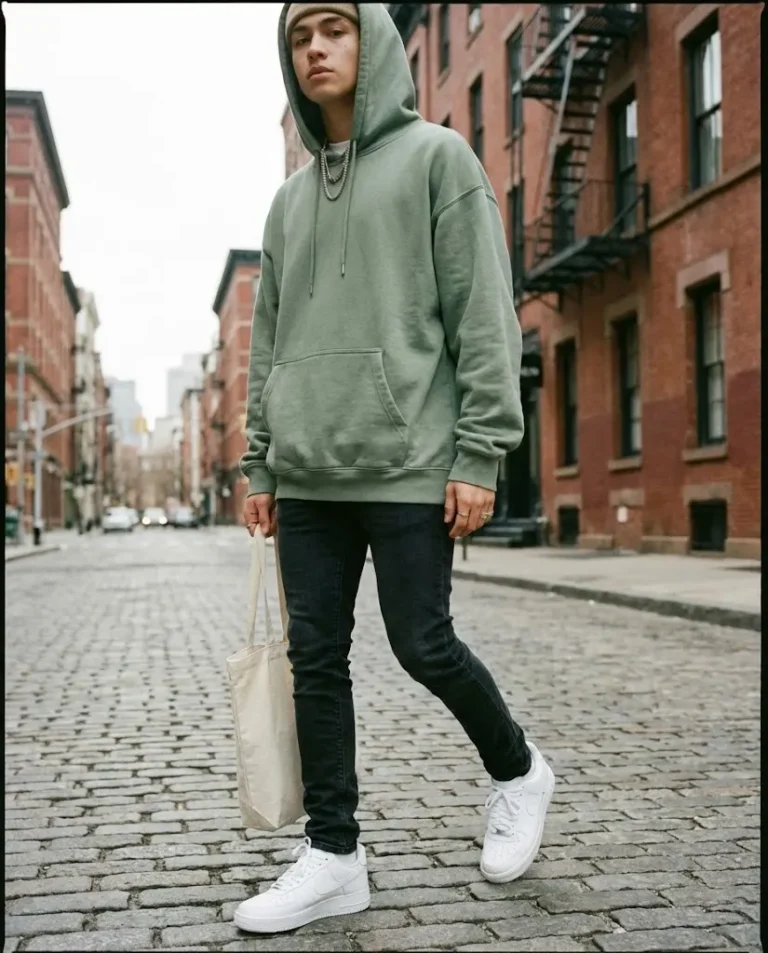
Casual Streetwear Look
Replace the highlighted text with your own details before you run the prompt.
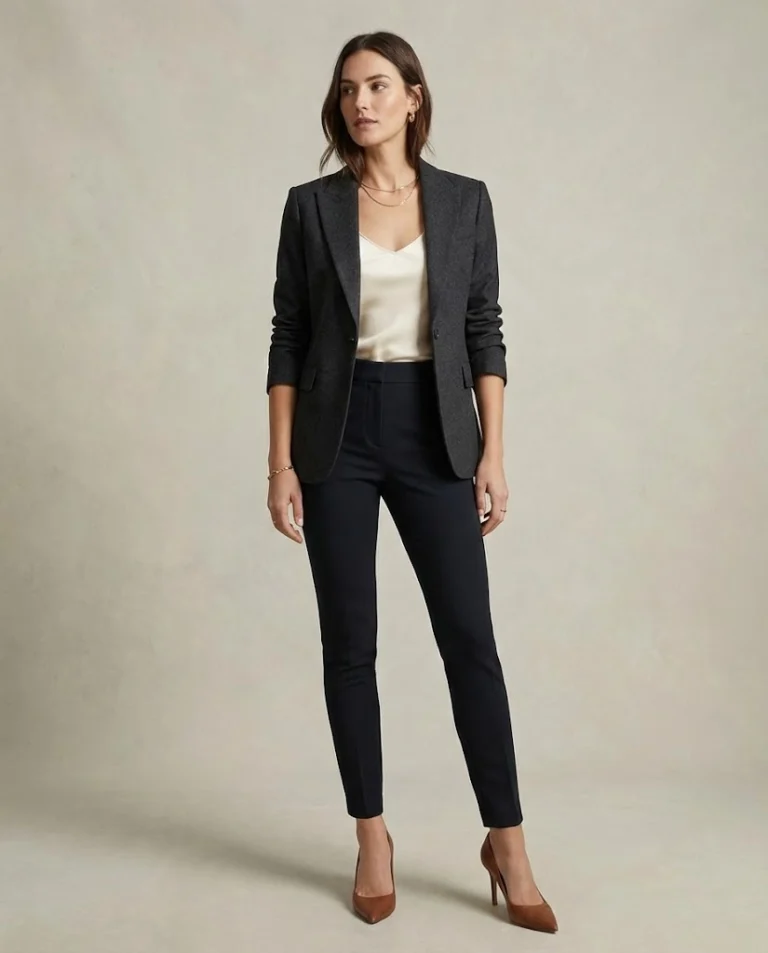
Luxury Fashion Outfit
Replace the highlighted text with your own details before you run the prompt.
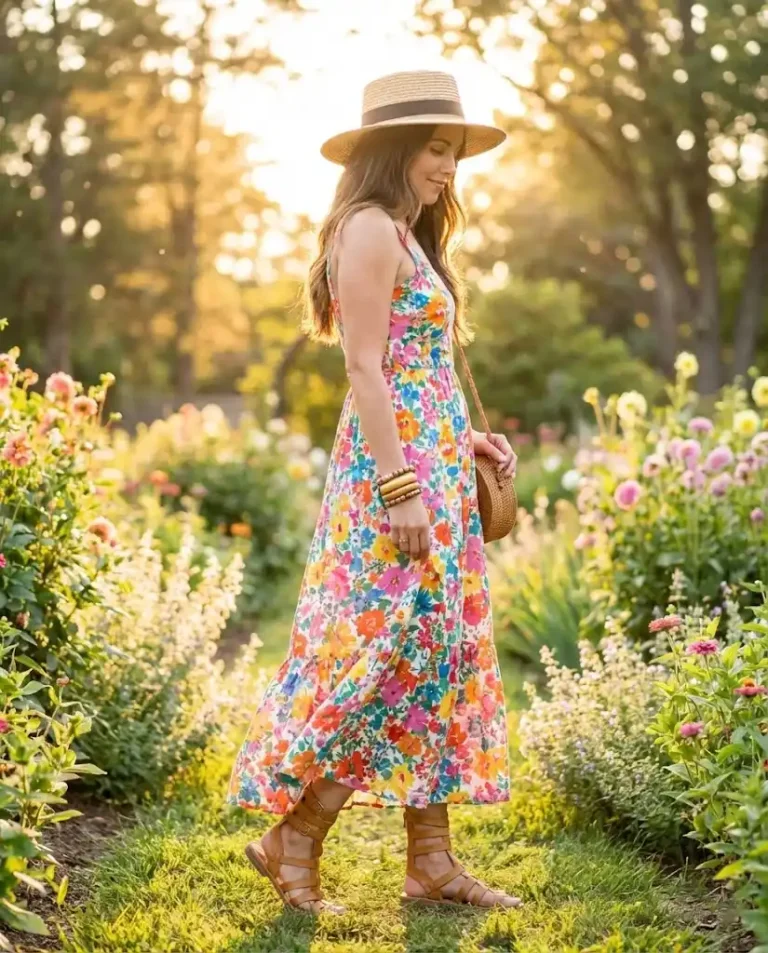
Summer Outfit Style
Replace the highlighted text with your own details before you run the prompt.
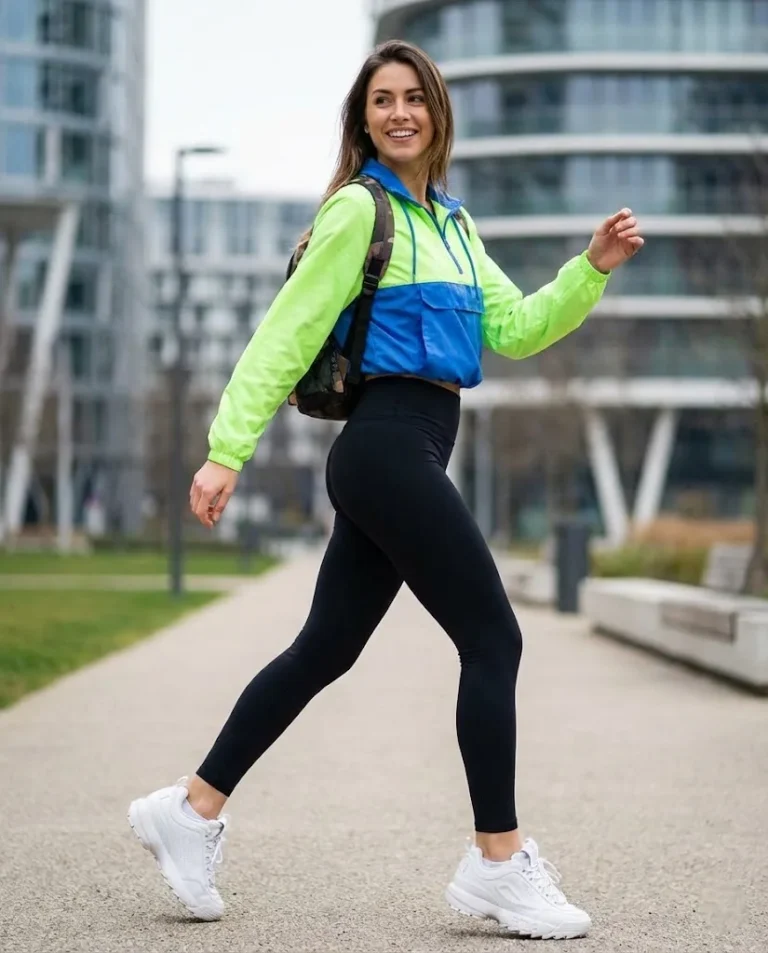
Sporty Athleisure Wear
Replace the highlighted text with your own details before you run the prompt.
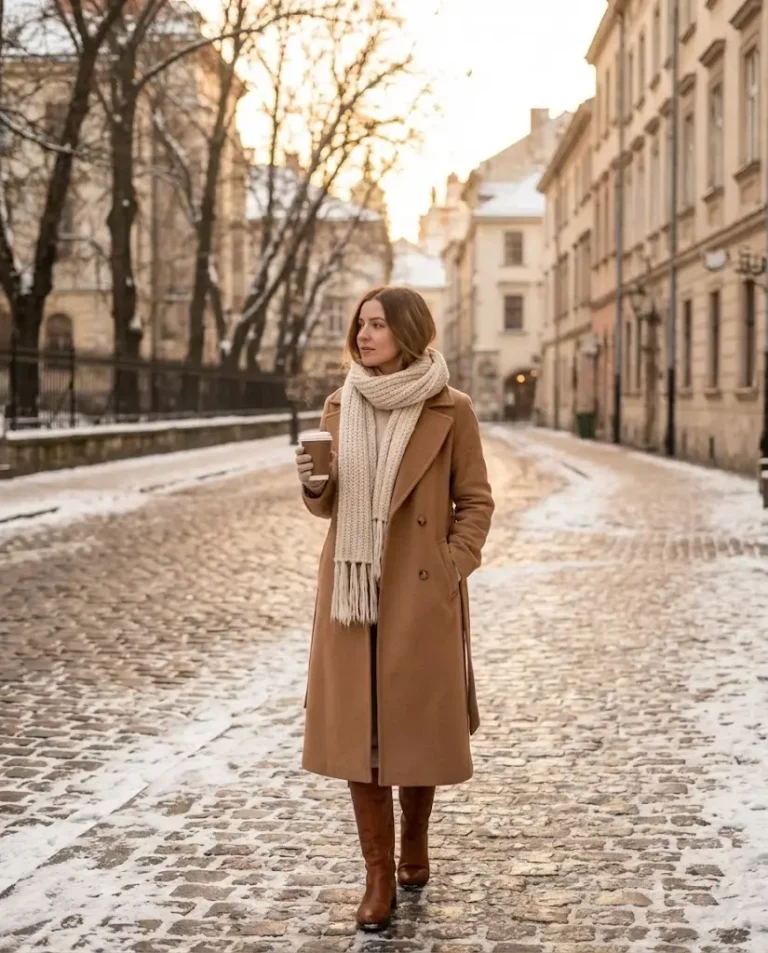
Winter Layered Outfit
Replace the highlighted text with your own details before you run the prompt.
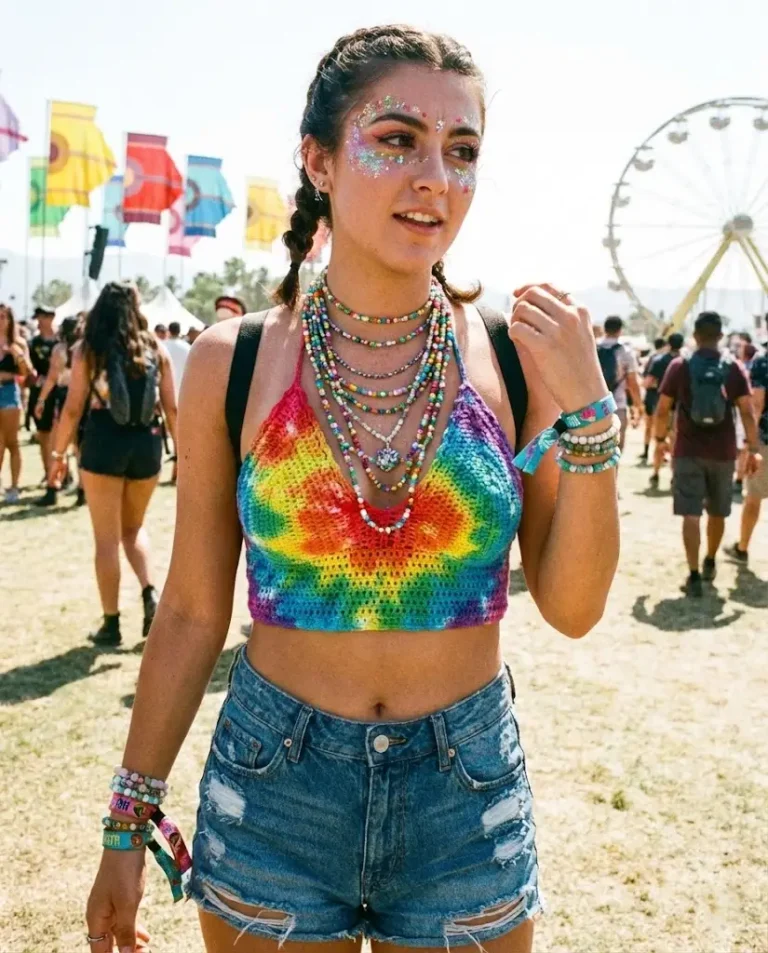
Festival Fashion Look
Replace the highlighted text with your own details before you run the prompt.
Hoodie Mockup Prompts
These six AI prompts create hoodie mockups for print-on-demand and clothing brands, from a clean studio shot and white store background to a flat lay and a street-style model.
Use the White Background prompt for product listings, and the Lifestyle or Cozy Indoor prompts for social posts. To add your artwork, describe it in the prompt or place it over the generated image with an editor.
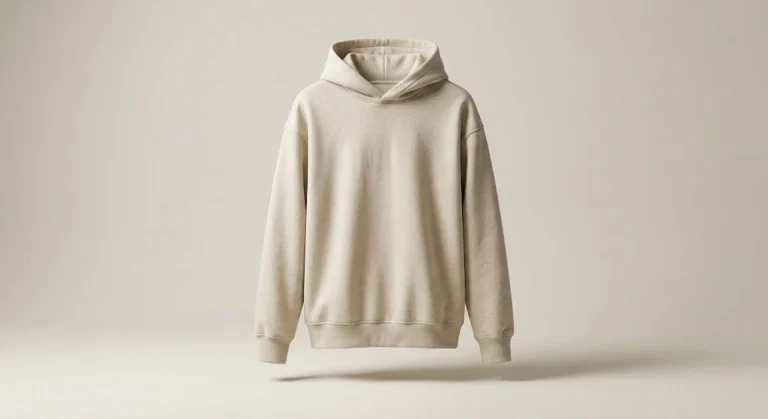
Minimal Studio Hoodie Mockup
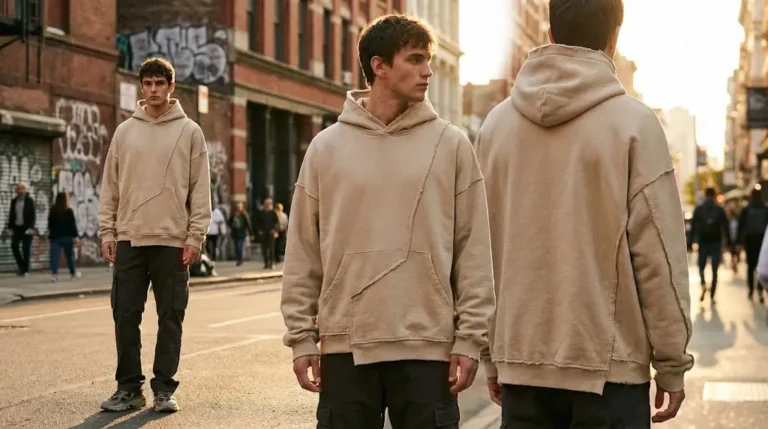
Lifestyle Streetwear Hoodie
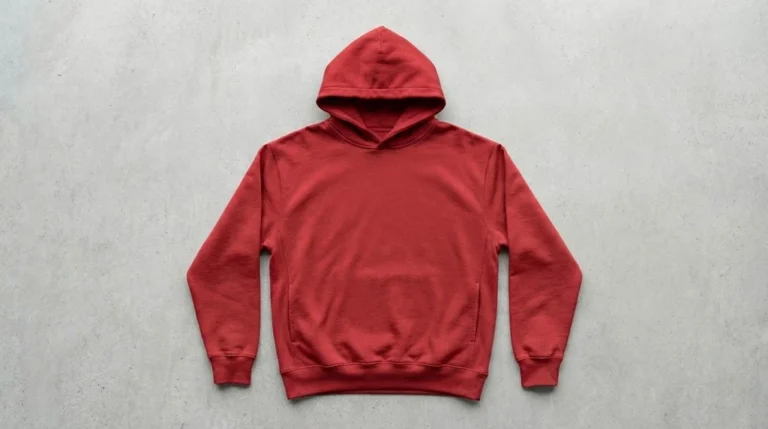
Flat Lay Hoodie Mockup
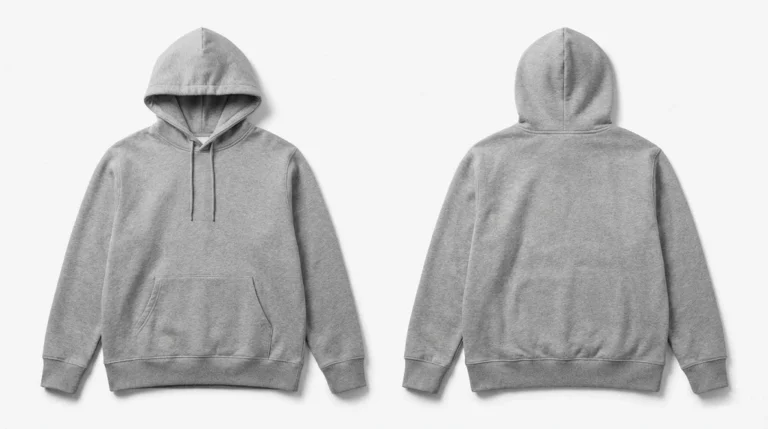
E-commerce White Background Hoodie
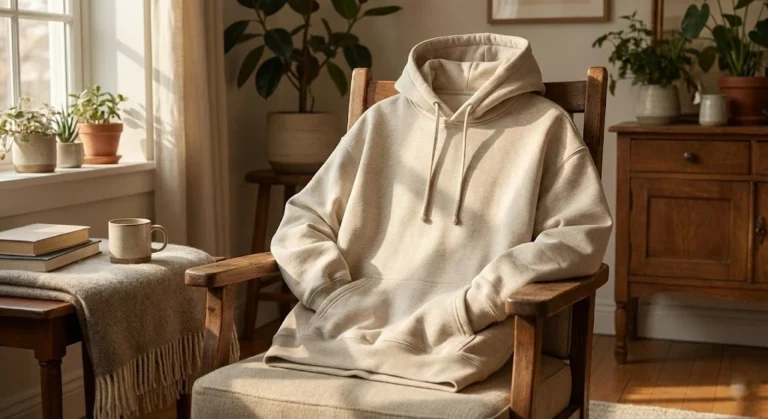
Cozy Indoor Hoodie Scene
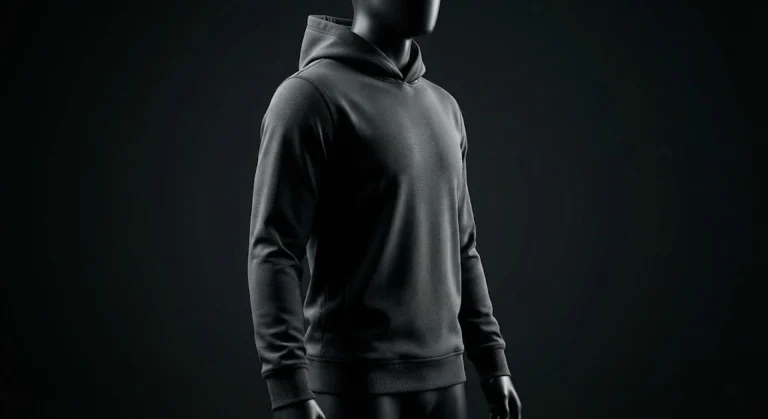
Athletic Fit Hoodie Mockup
Before You Use a Mockup in Your Store
Make sure the mockup matches what buyers will receive. The hoodie’s colour, fit and fabric should look like the real product, and your design should appear at its real print size. Check your tool’s commercial terms before using images in a store.
Asian Art T-Shirt Design Prompts
A Japanese dragon stretching across the back of an oversized black tee creates a very different look from a small samurai illustration printed over the chest. Both use Asian-inspired artwork, but the subject, scale and placement change how the finished T-shirt feels.
That difference matters when creating Asian Art T-shirt Designs with AI. A striking illustration does not automatically make a good apparel graphic. The artwork needs to suit the garment, retain its important details at the intended print size, and work with the colour of the fabric.
Tools such as Midjourney, Leonardo AI, Adobe Firefly and Flux can help generate ideas for streetwear graphics, from traditional ink illustrations to futuristic urban scenes. The result depends heavily on how clearly you describe the subject, artistic influence, composition and colour palette.
The six prompts below cover different styles of Asian-inspired streetwear. Each one provides a starting point for creating a design, whether you are developing graphics for your own wardrobe, testing ideas for a clothing brand or preparing concepts for an online apparel store.
Before Writing the Prompt, Think Like a Fashion Brand
A common mistake when generating T-shirt artwork is asking for too many things at once. A dragon, several symbols, elaborate lettering, smoke, decorative borders and multiple colours may look interesting in a prompt, but the resulting image can become difficult to read on a T-shirt.
Start by deciding what the design needs to communicate. A single warrior beneath a red sun creates a different impression from a detailed dragon surrounded by smoke. Neither approach requires the same composition or amount of detail.
Before generating the artwork, consider these four questions:
- What should dominate visually?
- Should the design feel calm or aggressive?
- Is the artwork meant for front print or oversized back print?
- Is the mood luxury, vintage, cyberpunk, or traditional?
Those choices shape the final design far more than effects do.
It also helps to decide on the garment colour before generating the artwork. Black ink on a black T-shirt can disappear, while pale details may lose their definition against an off-white fabric. Keeping the intended garment in mind from the beginning makes it easier to judge whether a generated design will work outside the image preview.6 Powerful Asian Art T-Shirt Design AI Prompts
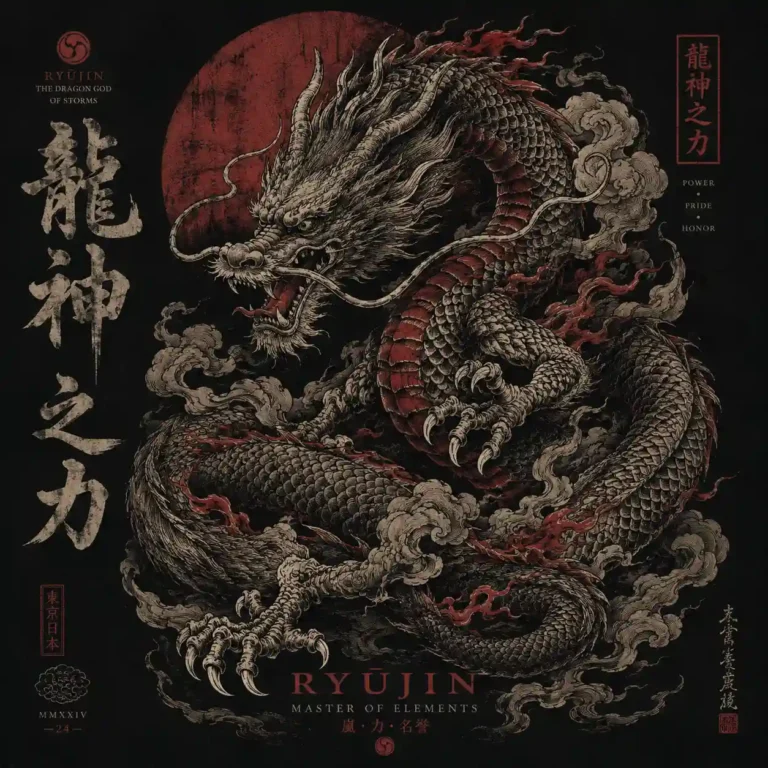
Japanese Dragon Streetwear Design
Replace the highlighted text with your own details before you run the prompt.
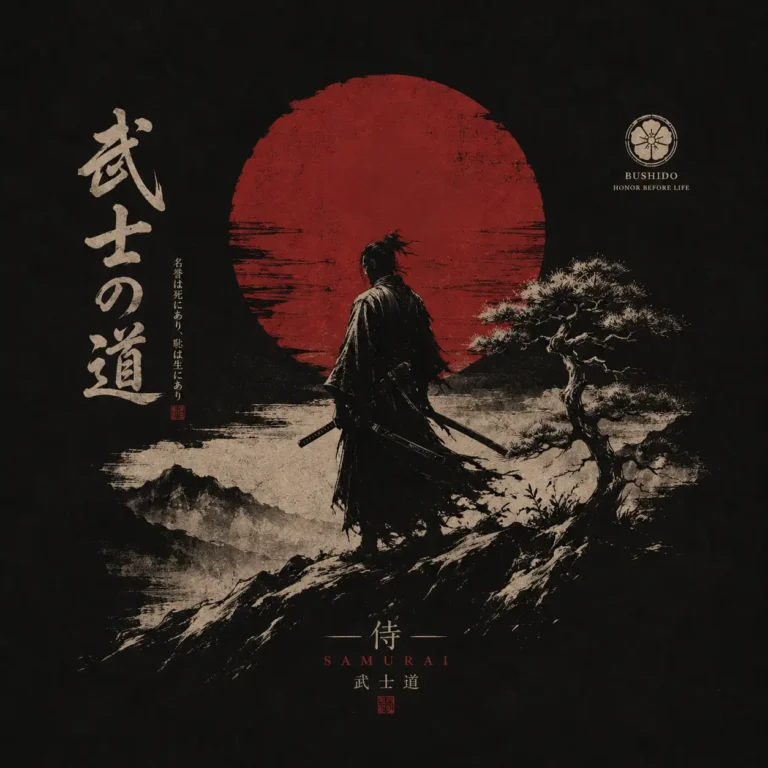
Samurai Minimal Poster Tee
Replace the highlighted text with your own details before you run the prompt.
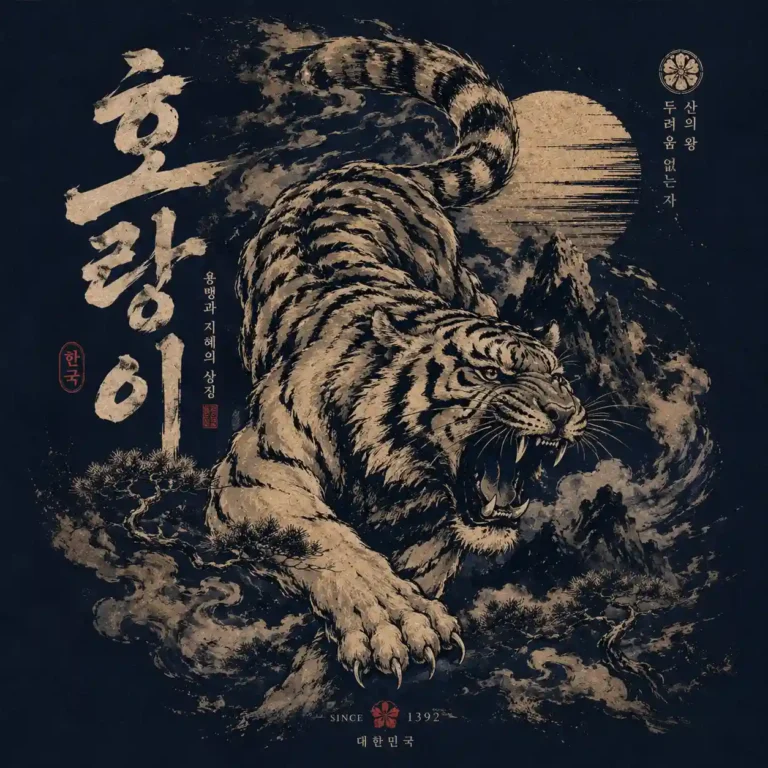
Korean Tiger Graphic Tee
Replace the highlighted text with your own details before you run the prompt.
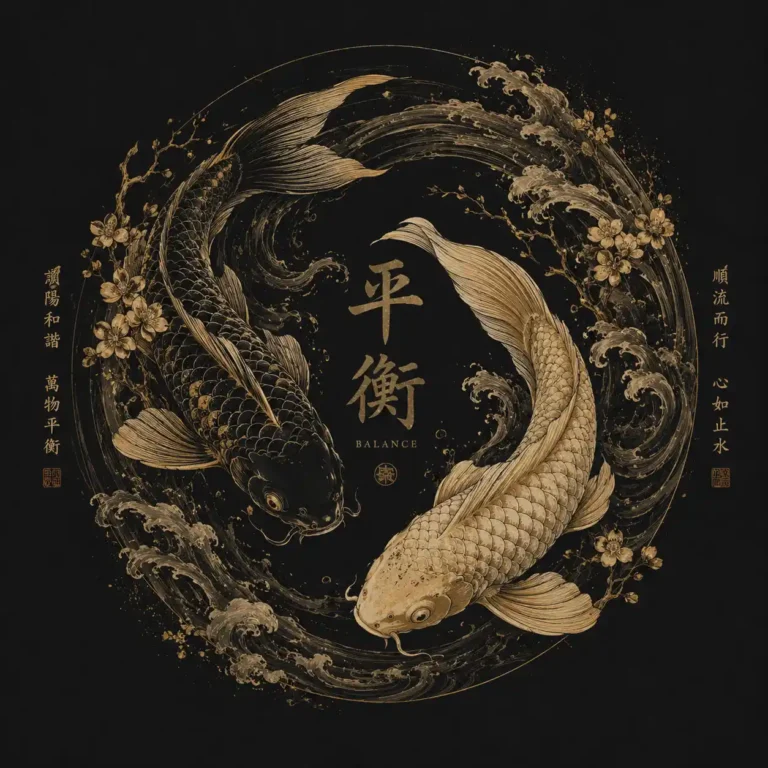
Chinese Koi Fish Flow Design
Replace the highlighted text with your own details before you run the prompt.
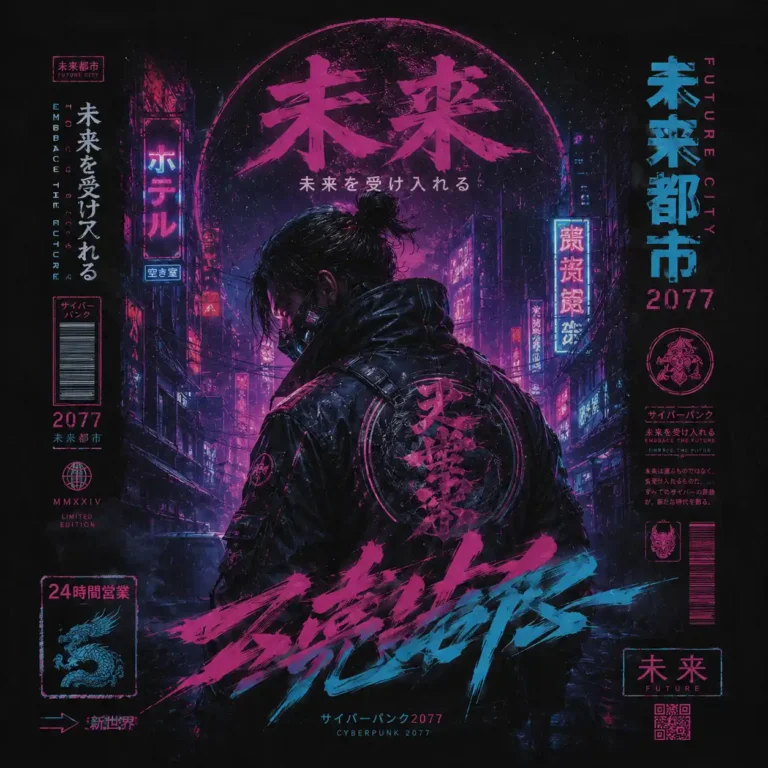
Cyberpunk Asian Neon Tee
Replace the highlighted text with your own details before you run the prompt.
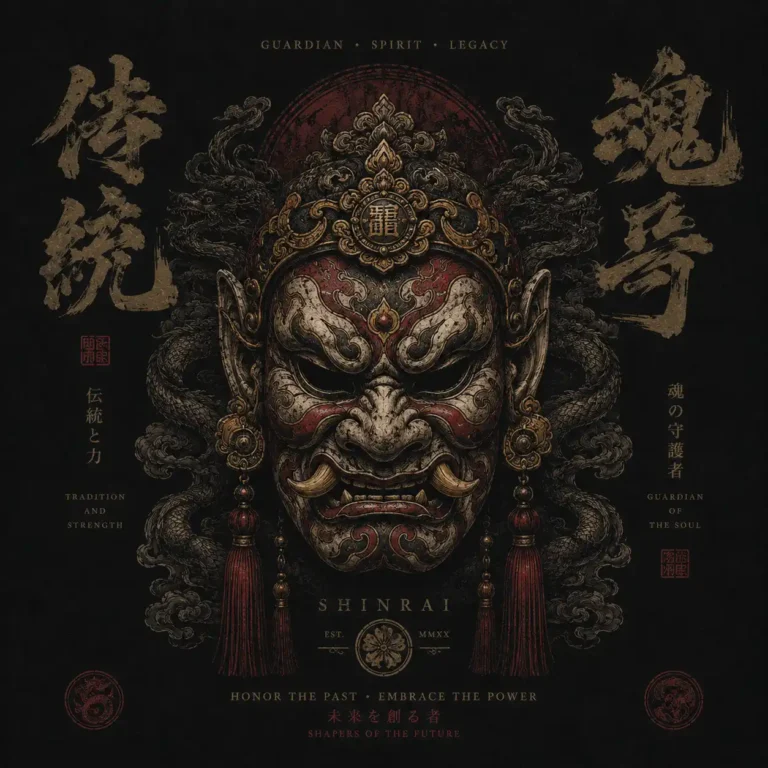
Traditional Asian Mask Design
Replace the highlighted text with your own details before you run the prompt.
How to Prepare AI-Generated T-Shirt Artwork for Printing
AI artwork can look impressive on screen and still fall short when printed on a T-shirt. Fine lines may disappear, colours can look different on fabric, and a graphic that looks balanced on a square canvas might not sit properly on an oversized tee. A few checks before printing can save you from these problems.
What to Check Before Turning AI Artwork into a T-Shirt Print
Size the Graphic for the Actual T-Shirt
A small chest graphic needs a different layout from a large back print. Before finalising the artwork, decide where it will sit and check its proportions against the actual T-shirt design.
For an oversized back print, use a mockup of the garment rather than relying on the original image alone. Pay attention to the width, height and position of the main subject. A dragon with a long, flowing body, for instance, may suit a vertical layout better than a square one.
Get Rid of the Background Without Losing the Artwork
AI generators often include background elements that look good in an image but do not belong on a T-shirt. If you want the artwork to blend into the fabric, prepare a version with a transparent background. Take care not to remove fine brushstrokes, smoke or other details that form part of the illustration.
Will the Fine Lines Survive the Printing Process?
Zoom in on the artwork and look at the details that define the design. Dragon scales, thin outlines, distressed textures and small decorative marks can merge or disappear when reduced to the final print size.
The printing method matters, too. Screen printing and direct-to-garment printing handle fine details and colours differently. Ask your printer about the minimum line thickness and file requirements before preparing the final artwork.
Choose Ink Colours That Work with the Fabric
Always preview the graphic against the colour of the T-shirt you intend to use. Black artwork may lose definition on dark fabric, while pale details can disappear against cream or light grey. Adjust the contrast before sending the design to print.
Gold deserves particular attention. A gold colour in an AI-generated image usually looks metallic because of its shading, not because it contains metallic material. If you want an actual metallic finish, check whether your printer offers metallic inks or other suitable printing options.
Get the Print File and Usage Rights in Order
Before placing an order, confirm the required image dimensions, resolution, colour settings, transparency and file format with your printer. Also check the commercial-use terms of your chosen AI image generator. If the artwork includes fonts, reference assets or other third-party elements, review their licences before selling the finished product.
If you plan to sell the T-shirts, order one sample first. Check how the print feels, whether the details remain visible and whether the placement looks right when someone wears the garment. A mockup cannot tell you everything about the finished product.
Choosing the Right Graphic for Your Streetwear Collection
Each of the six designs offers a different starting point for a streetwear collection:
- Japanese dragon: Suits large back prints with flowing shapes, detailed scales and strong movement.
- Samurai: Works well when you want a recognisable silhouette and a limited colour palette.
- Korean tiger: Offers an opportunity to use expressive features and visual references from Korean folk painting.
- Chinese koi fish: Provides a more flowing composition built around fish, water and curved forms.
- Cyberpunk: Brings neon colours, futuristic characters and urban imagery into the collection.
- Traditional mask: Creates a strong focal point through facial details, shadows and ornamental patterns.
For a collection, you do not need to use all six styles at once. Pick two or three that share a visual element. A dragon and a mask, for example, could use the same black-and-crimson palette and distressed ink treatment. Their subjects would differ, but the artwork would still feel connected.
From AI Image to Wearable Streetwear
The difference between an interesting AI image and a usable T-shirt graphic comes down to how well the artwork fits the garment. A detailed illustration may look impressive on screen, but the same design needs clear shapes, suitable contrast and the right proportions to work as a print.
Start with one of the six prompts and generate a few variations. Compare the main subject, composition and colour balance before spending time refining small details. Once you have a design that fits your intended style, prepare the file according to your printer’s specifications and review a physical sample.
If you are building a streetwear brand, pay attention to what connects the designs. Consistent colours, related illustration techniques and carefully chosen cultural references can help a collection develop its own identity without making every T-shirt look the same.Which One to Start With
For the quickest result, start with a preset in AirBrush. To try a specific piece of clothing, use NoteGPT with a garment image. For the most control over the final image, use Gemini.
Common Questions
Is there a free AI clothes changer?
Yes, several tools have a free tier, but the limits change often. NoteGPT, for example, listed 2 free images a day when we checked in October 2026. Check the tool’s page for current limits.
Can I upload a photo of clothes from a shop?
Most of these tools accept garment images. To use the result publicly, get the owner’s permission for the product photo.
Will the clothes fit me in real life?
The image can’t tell you that. Use it to judge colour and style, then check the size chart.
Can I use this for product photos in my store?
You can use it for mock-ups, but compare every image with the real product. Colour, shape and fabric should match what the customer receives.
More in AI Photo Editing Prompts and Guides
This guide is part of our AI Photo Editing Prompts and Guides hub, where you’ll find every related guide, along with tips and common questions.