
Glitch Effect: How to Create Digital Distortion Art Using AI Prompts
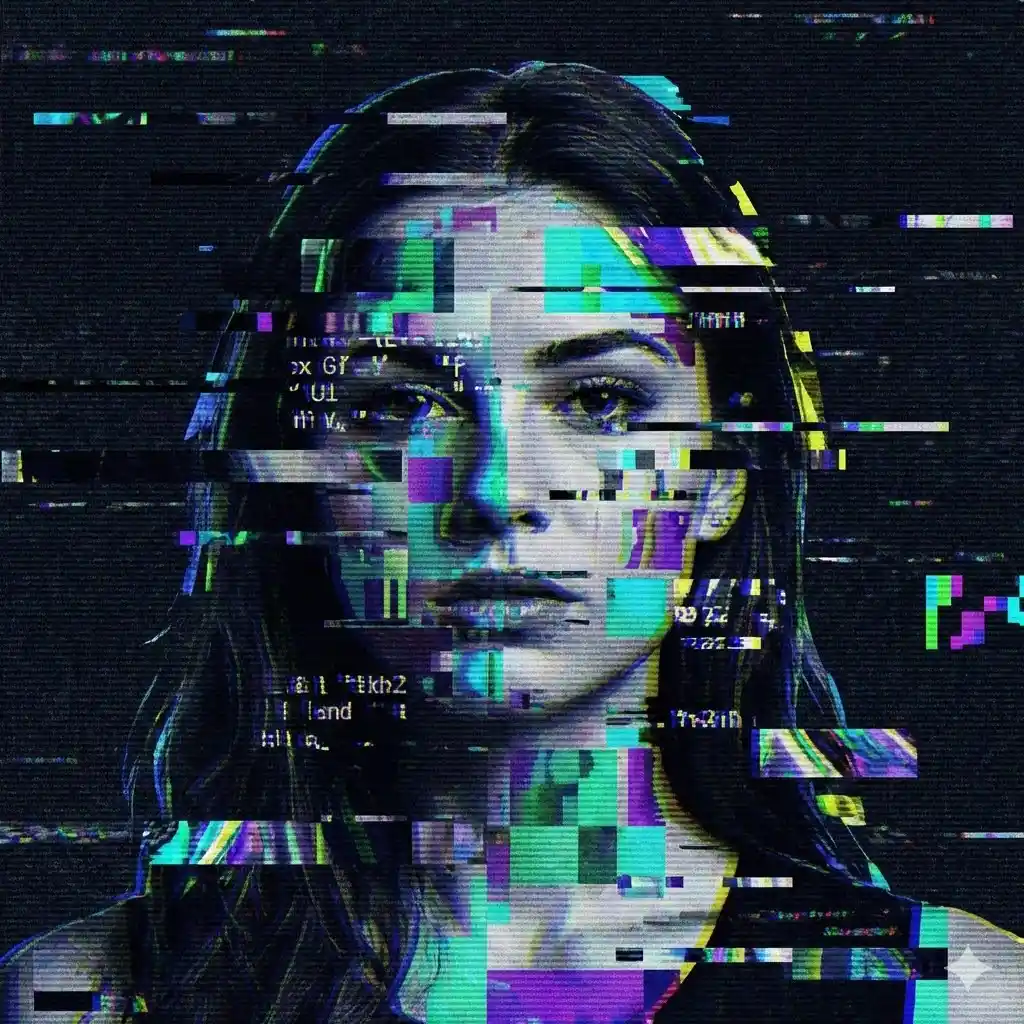
The glitch effect has become a powerful visual trend in digital design. Furthermore, from gritty album art to slick social media graphics, the glitch effect is everywhere right now. Its real appeal? To put it simply, it takes what used to be a frustrating technical error and turns it into a purposeful glitch effect.
Initially, the glitch effect was just an annoying side effect of a crashed hard drive or a bad signal. Consequently, artists eventually started noticing the unique energy and sense of motion hiding in that digital mess. The best part today is that you don’t need to be a coding genius or have expensive software to pull this off—AI tools have made creating the glitch effect surprisingly simple.
Why the Glitch Effect Works in Digital Design
The glitch effect works because it breaks visual expectations. Most digital designs are clean and predictable, while a glitch effect introduces distortion, noise, and surprise. This contrast naturally draws attention.
Specifically, you’ll see artists use this style whenever they want to:
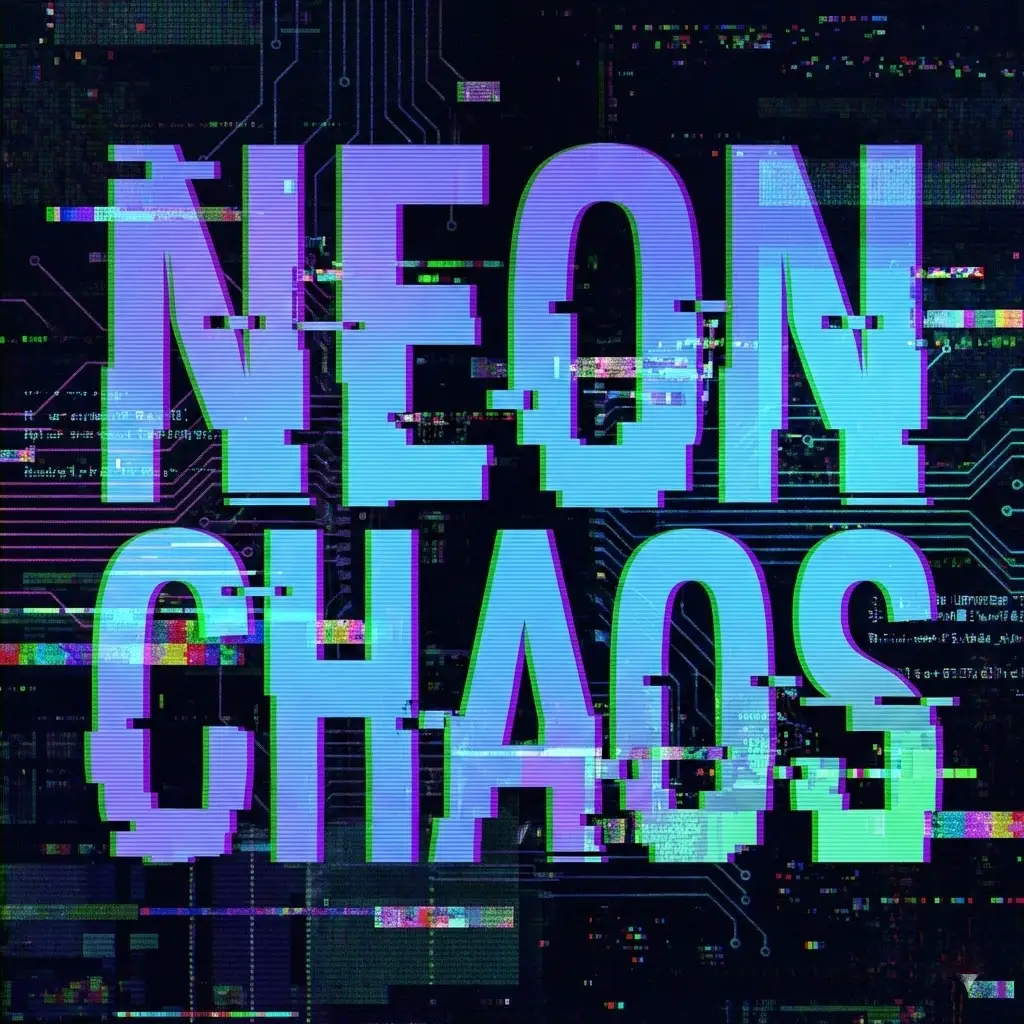
- Give their work a sharp, high-tech, or “cyberpunk” glitch effect
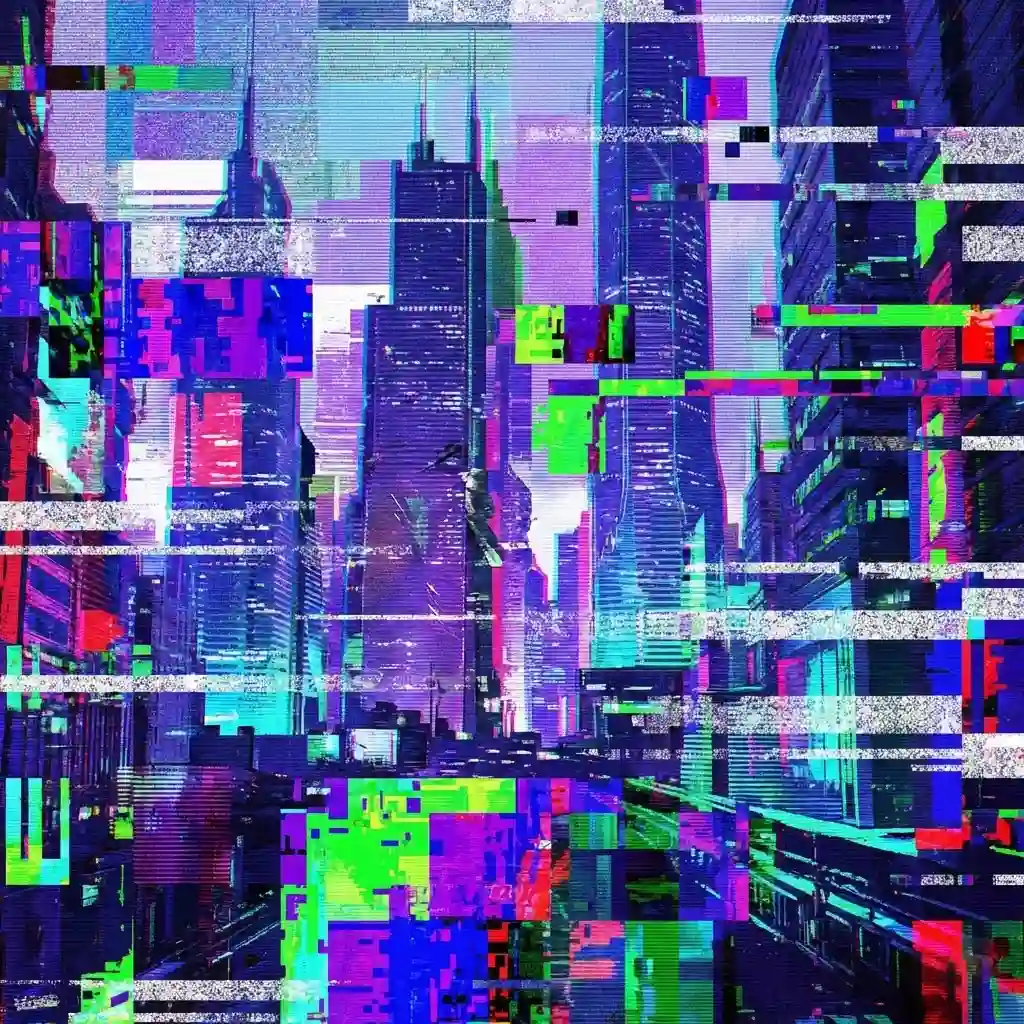
- Add emotion and movement to static designs
- Make wallpapers and social graphics stand out
When used correctly, the glitch effect feels intentional rather than chaotic.
Creating the Glitch Effect Using AI Tools
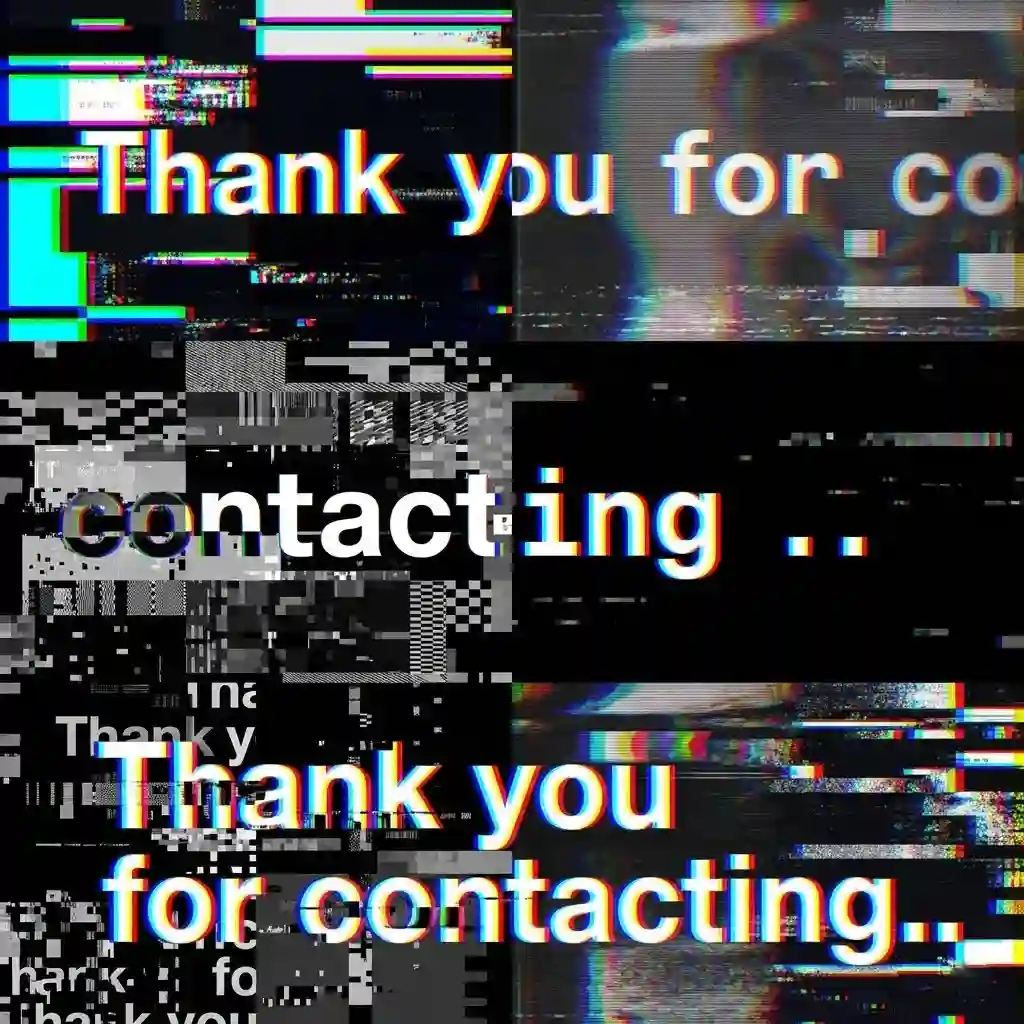
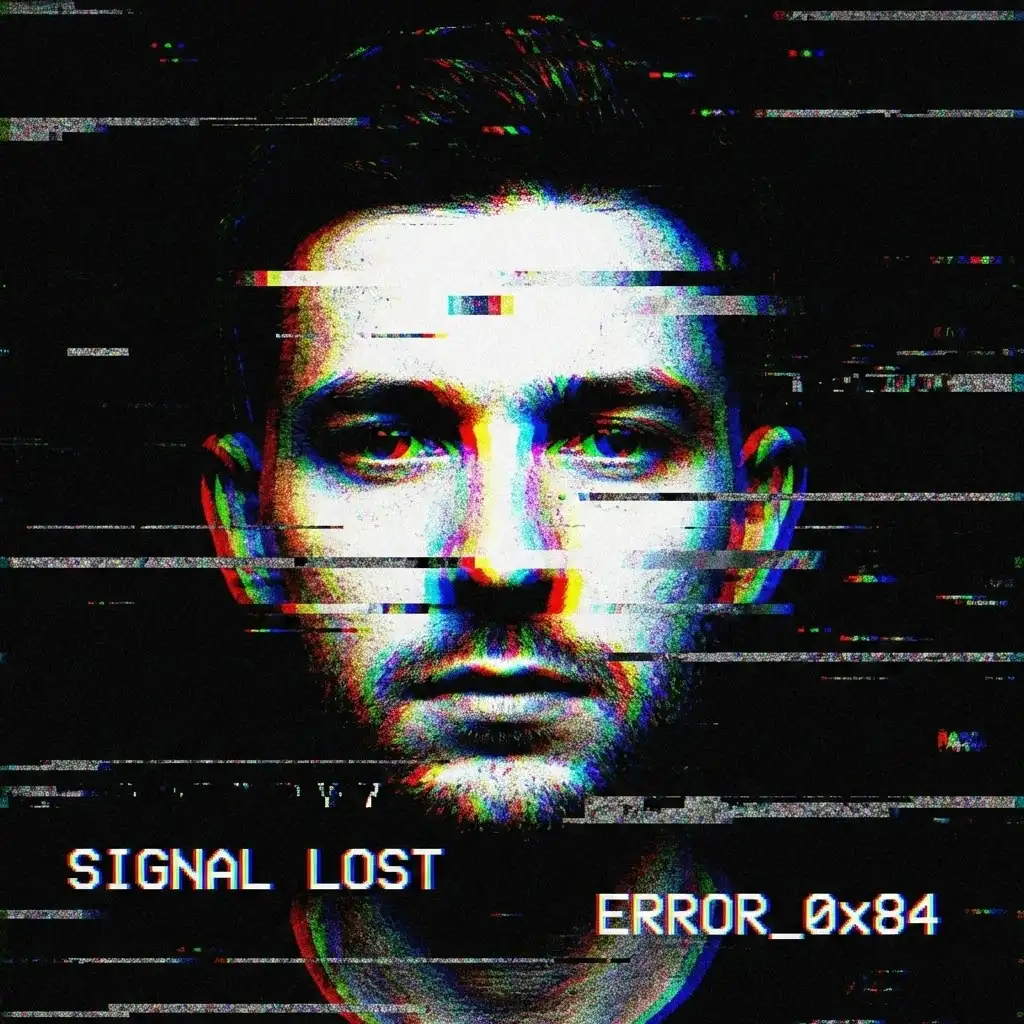
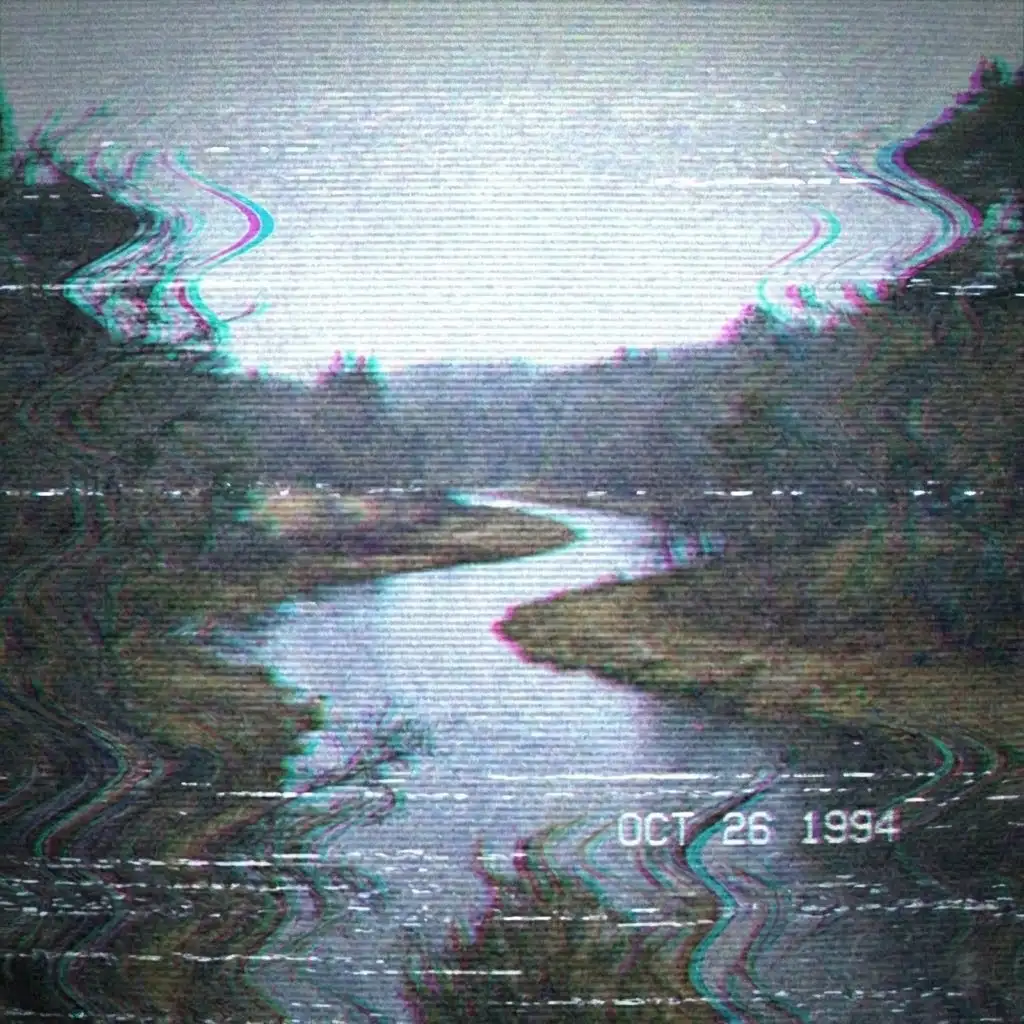
AI image generation tools such as Nano Banana and Adobe Firefly make it easy to experiment with the glitch effect. The key is describing how the distortion should appear instead of simply saying “add glitch”.
Good glitch effect prompts focus on pixel displacement, RGB separation, scan lines, and digital noise.
You only need to replace:
<SUBJECT> or <UPLOADED IMAGE> — person, object, logo, or text <AR> — your preferred frame size (like vertical 9:16 or square 1:1)
