It’s pretty silly, for real, that we still have to go through this! So you take an awesome picture on your iPhone, and then, all of a sudden, it isn’t “compatible” with anything else. I ran into this wall again this morning, trying to email a file to a Windows PC, so I had to refresh my memory on how to convert HEIC to JPG without downloading any sketchy apps.
Here is How to Convert HEIC to JPG (My Preferred Way)
You can definitely do this with fancy software, but honestly, a web tool is way faster and keeps your hard drive clean. I use Images.net because it doesn’t ask for a signup or make you jump through hoops.
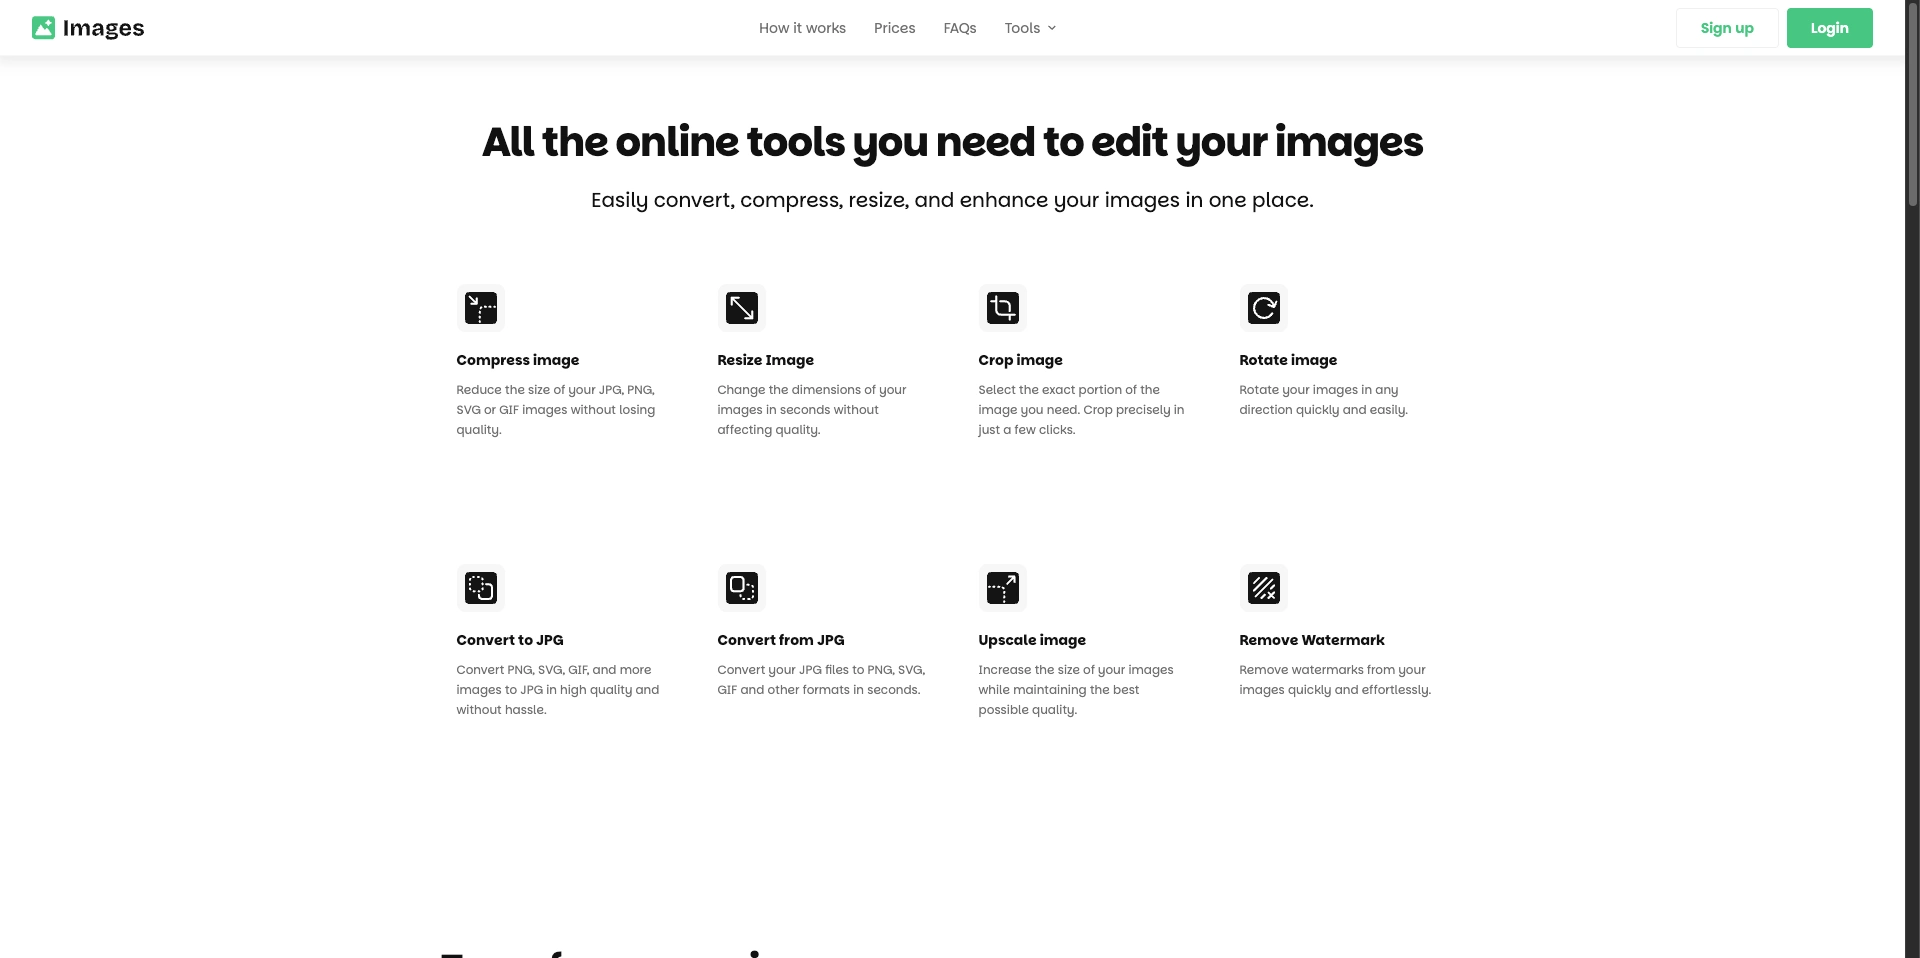
Open the page: Just pull up Images.net on whatever browser you are currently using.
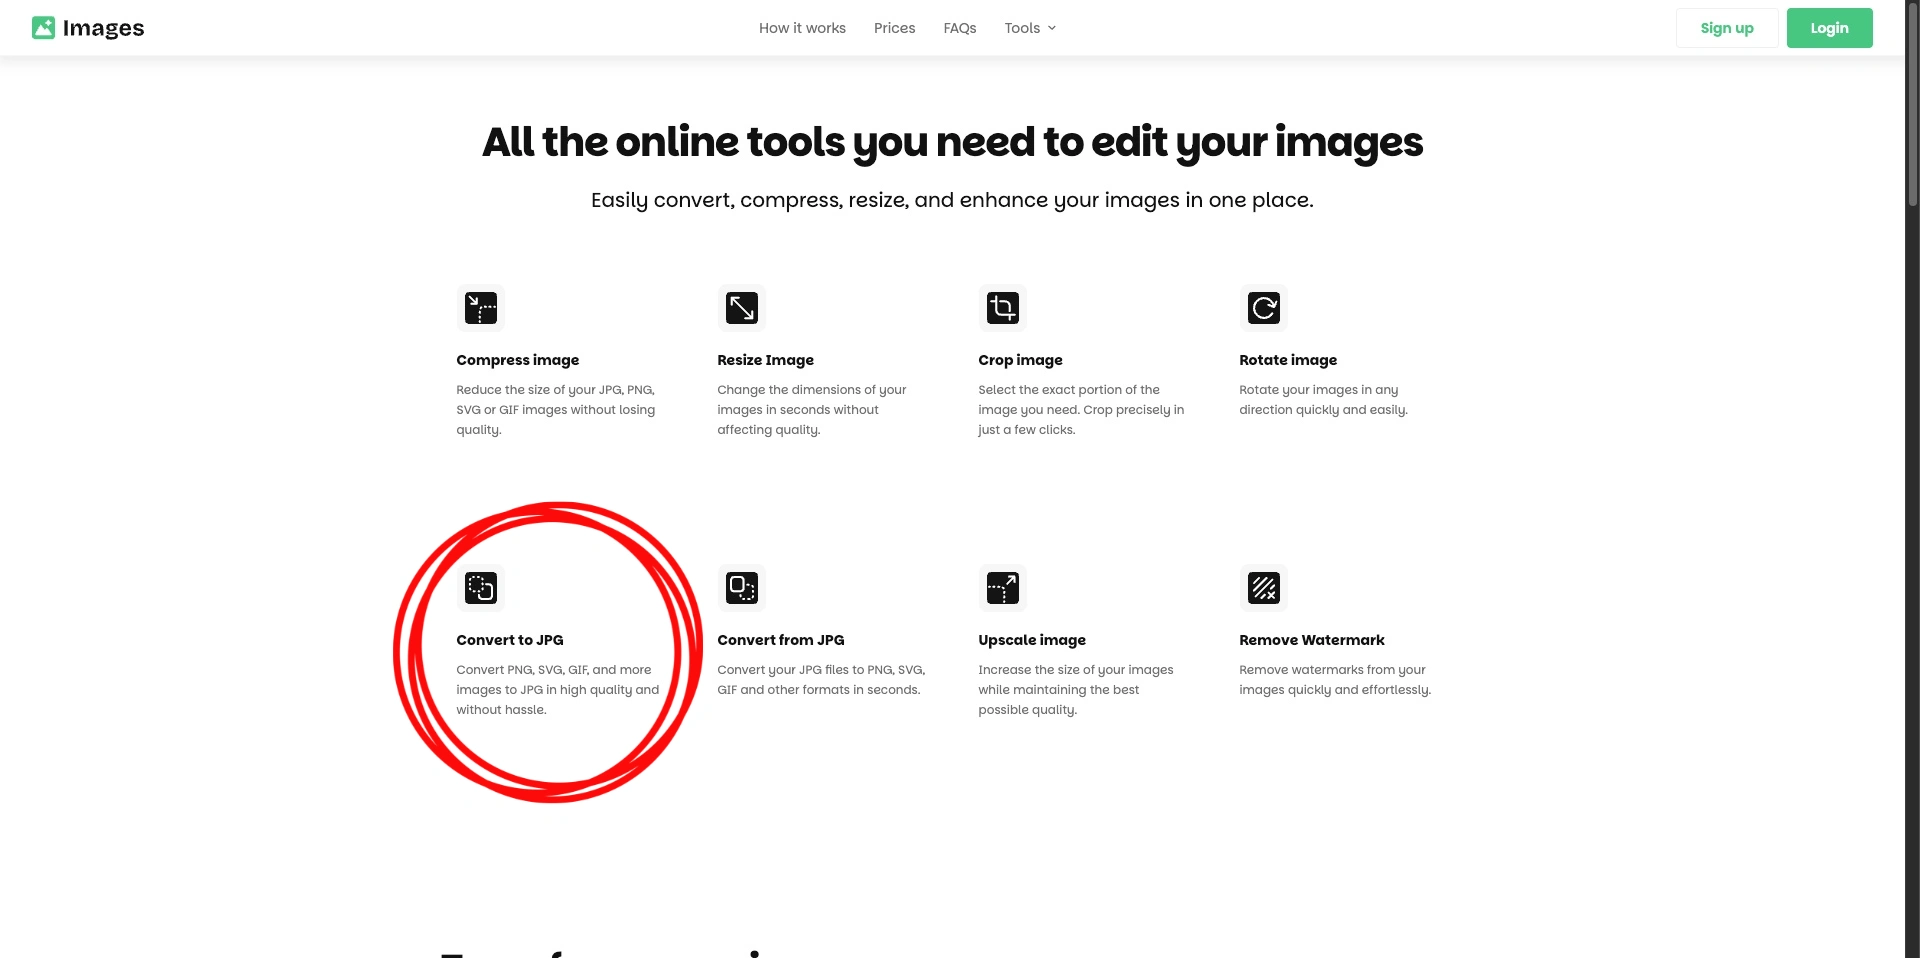
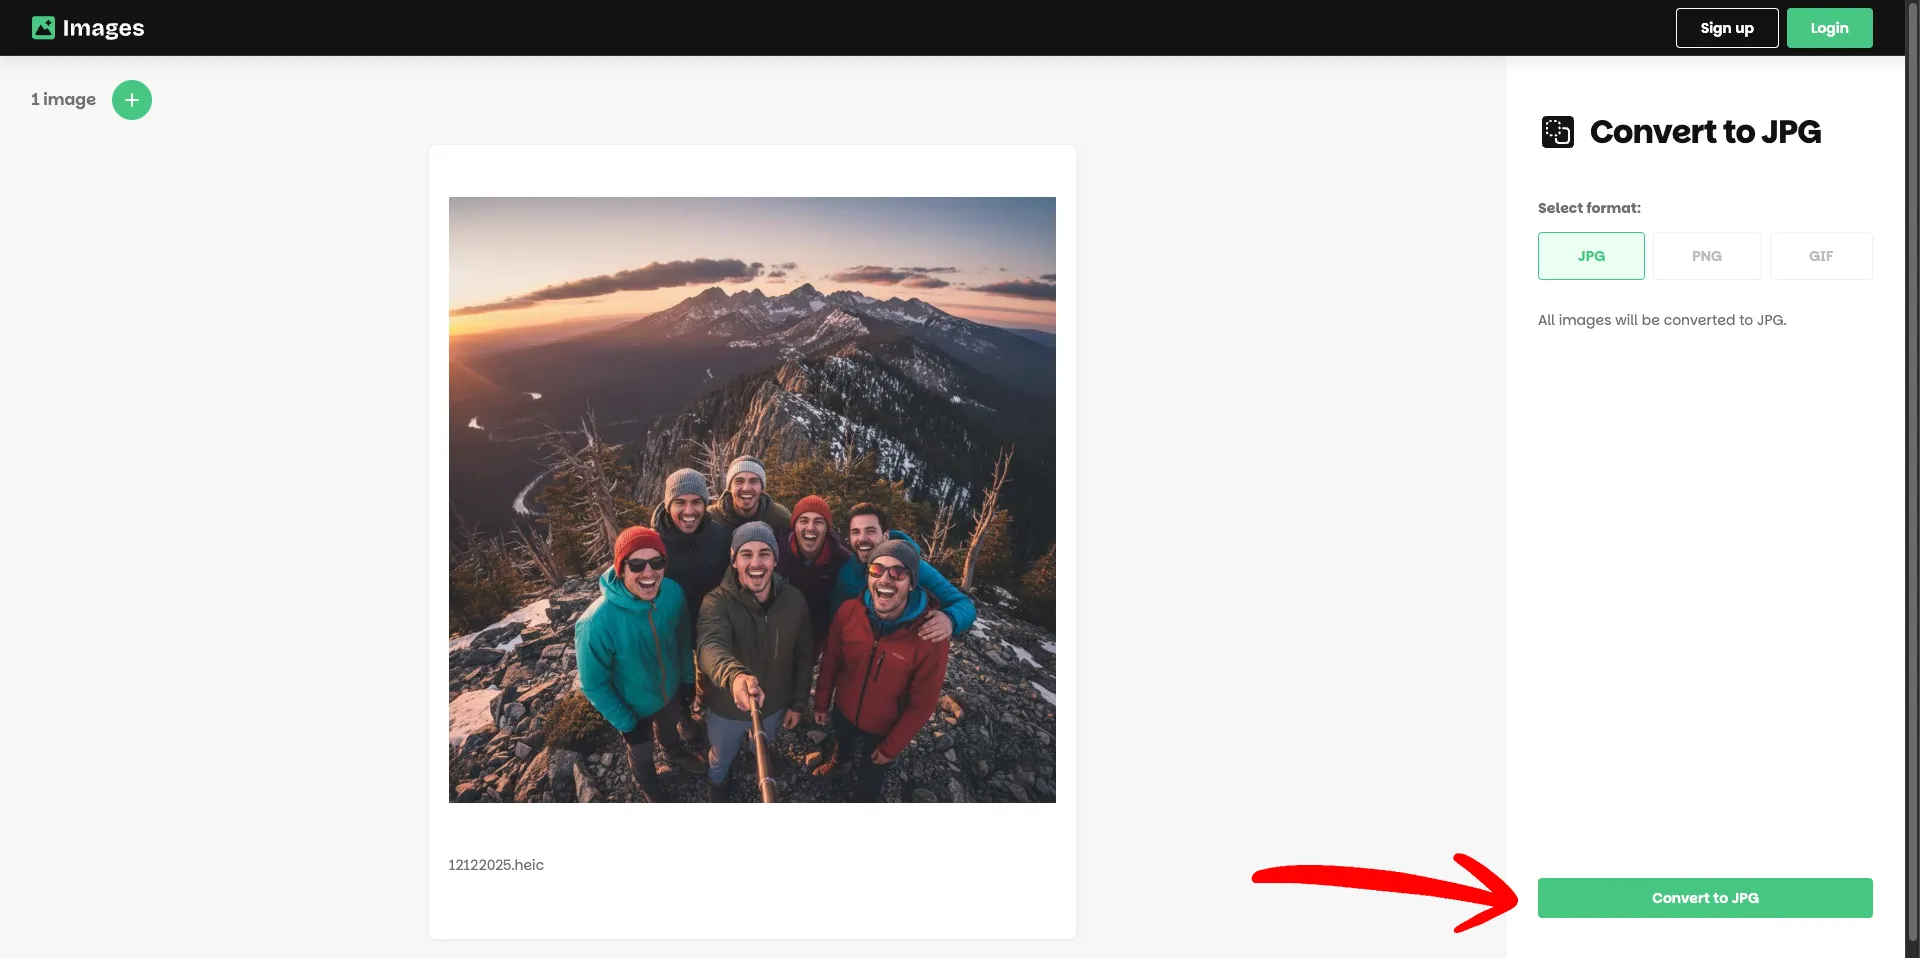
Find the button: There is a tool right on the home screen labeled “Convert to JPG.” Click that one.
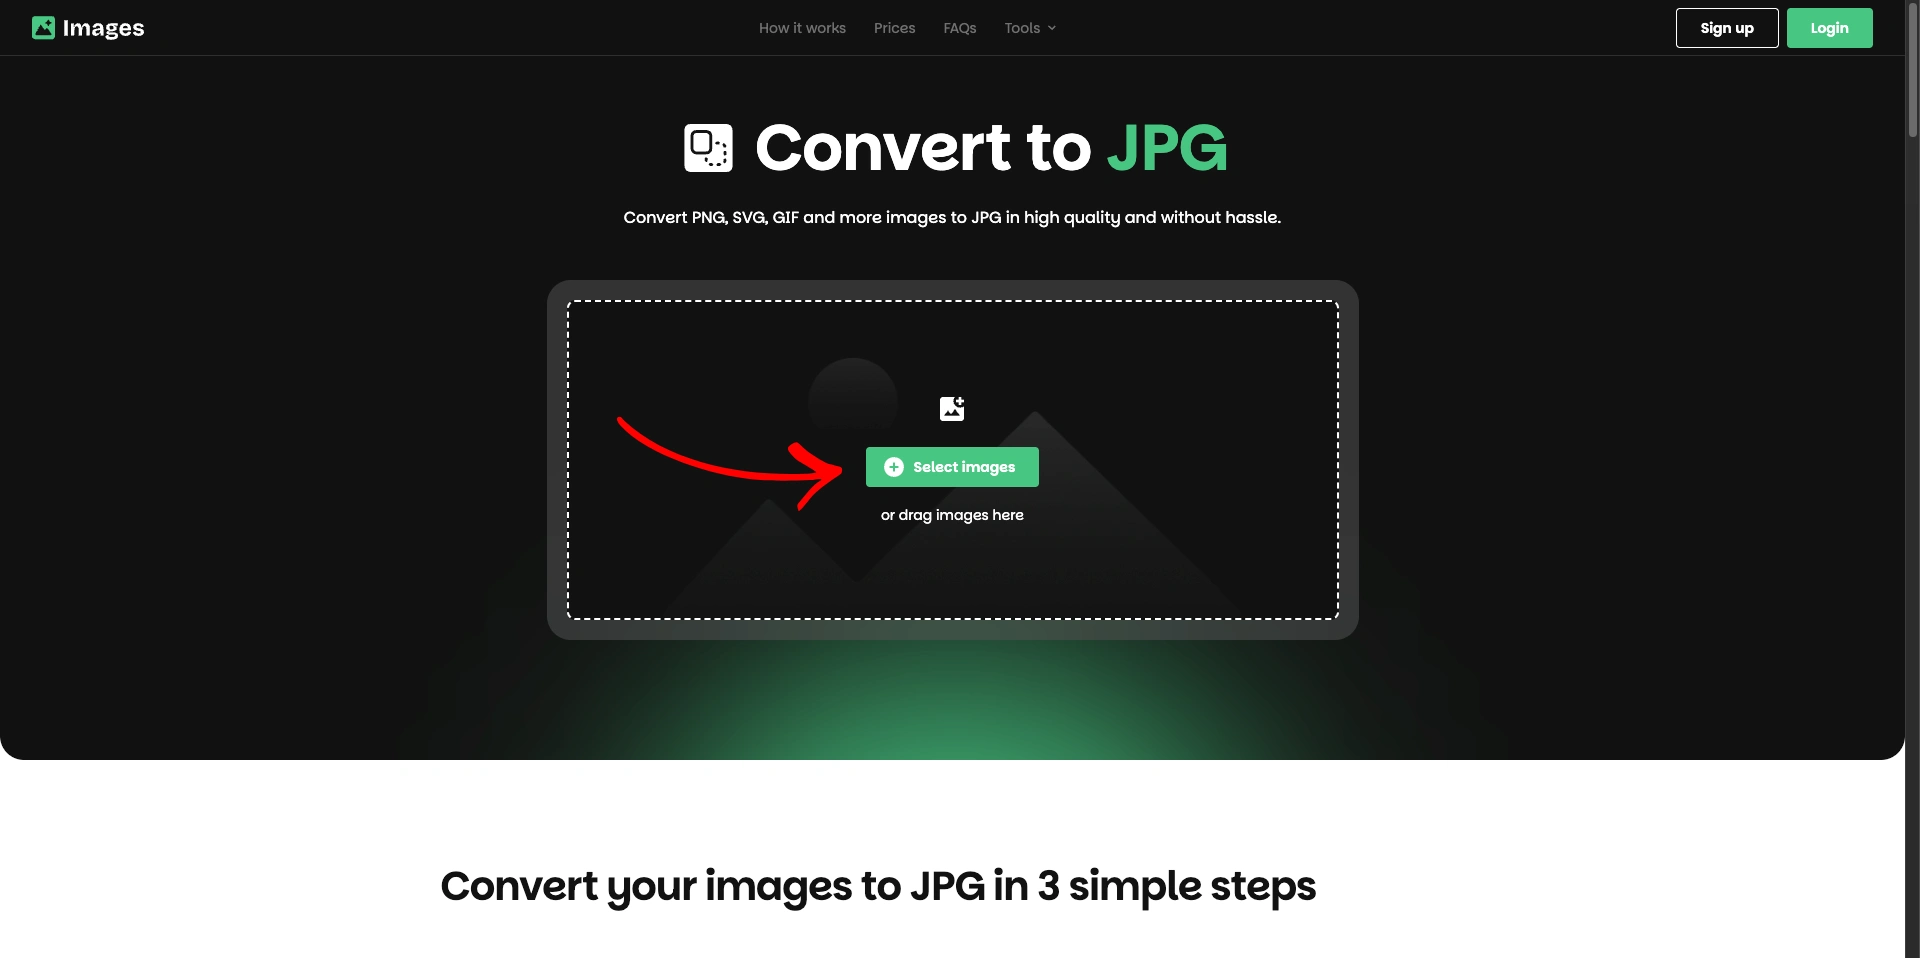
Upload it: Drag your HEIC file in from your desktop or camera roll.
The settings: Double-check that it is actually going to output a JPG (it usually defaults to this, but it pays to look).
Go: Hit the convert button and wait like two seconds.
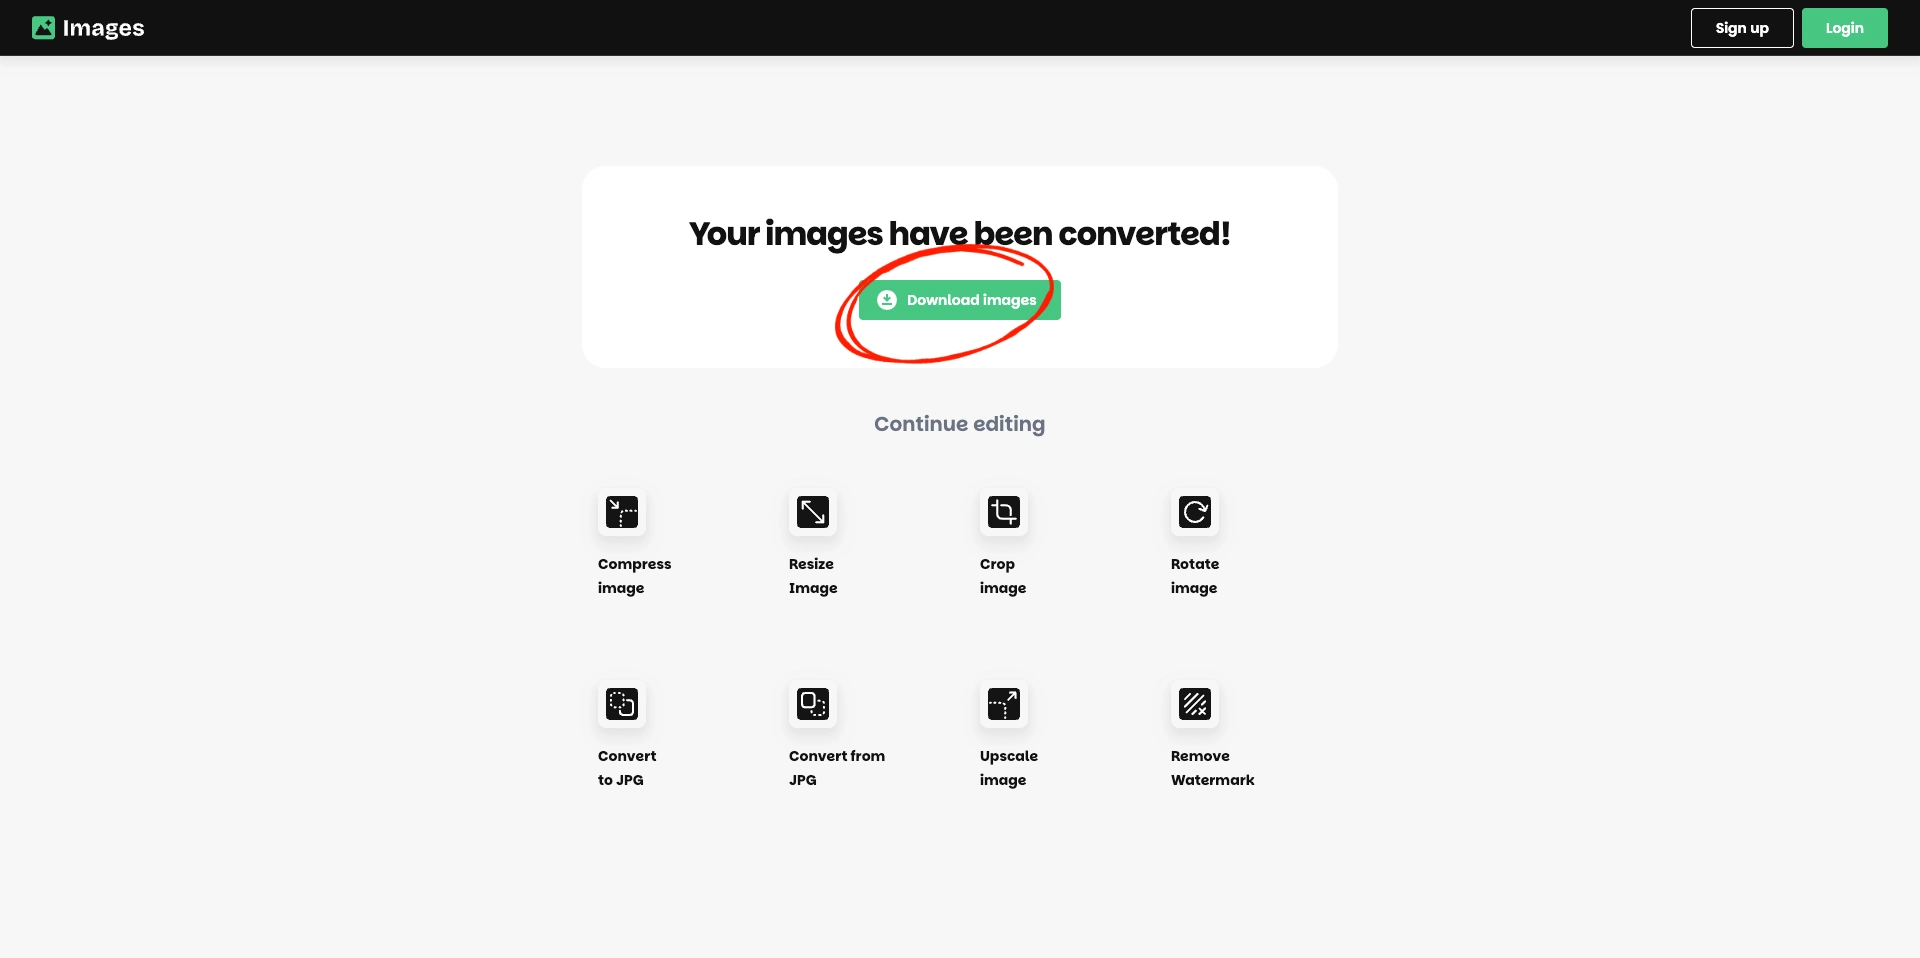
Done: Download the new file.
Why Everyone Eventually Searches How to Convert HEIC to JPG
Apple loves HEIC because it saves space on your iPhone, but the rest of the internet still heavily prefers JPG. It is just safer for compatibility. If you are sending files to a work computer, an older phone, or uploading to a strictly formatted web form, knowing how to convert HEIC to JPG is basically a survival skill for your photos.
Conclusion
That is really it. No installs, no headaches. Once you swap the file format, it will open anywhere.